
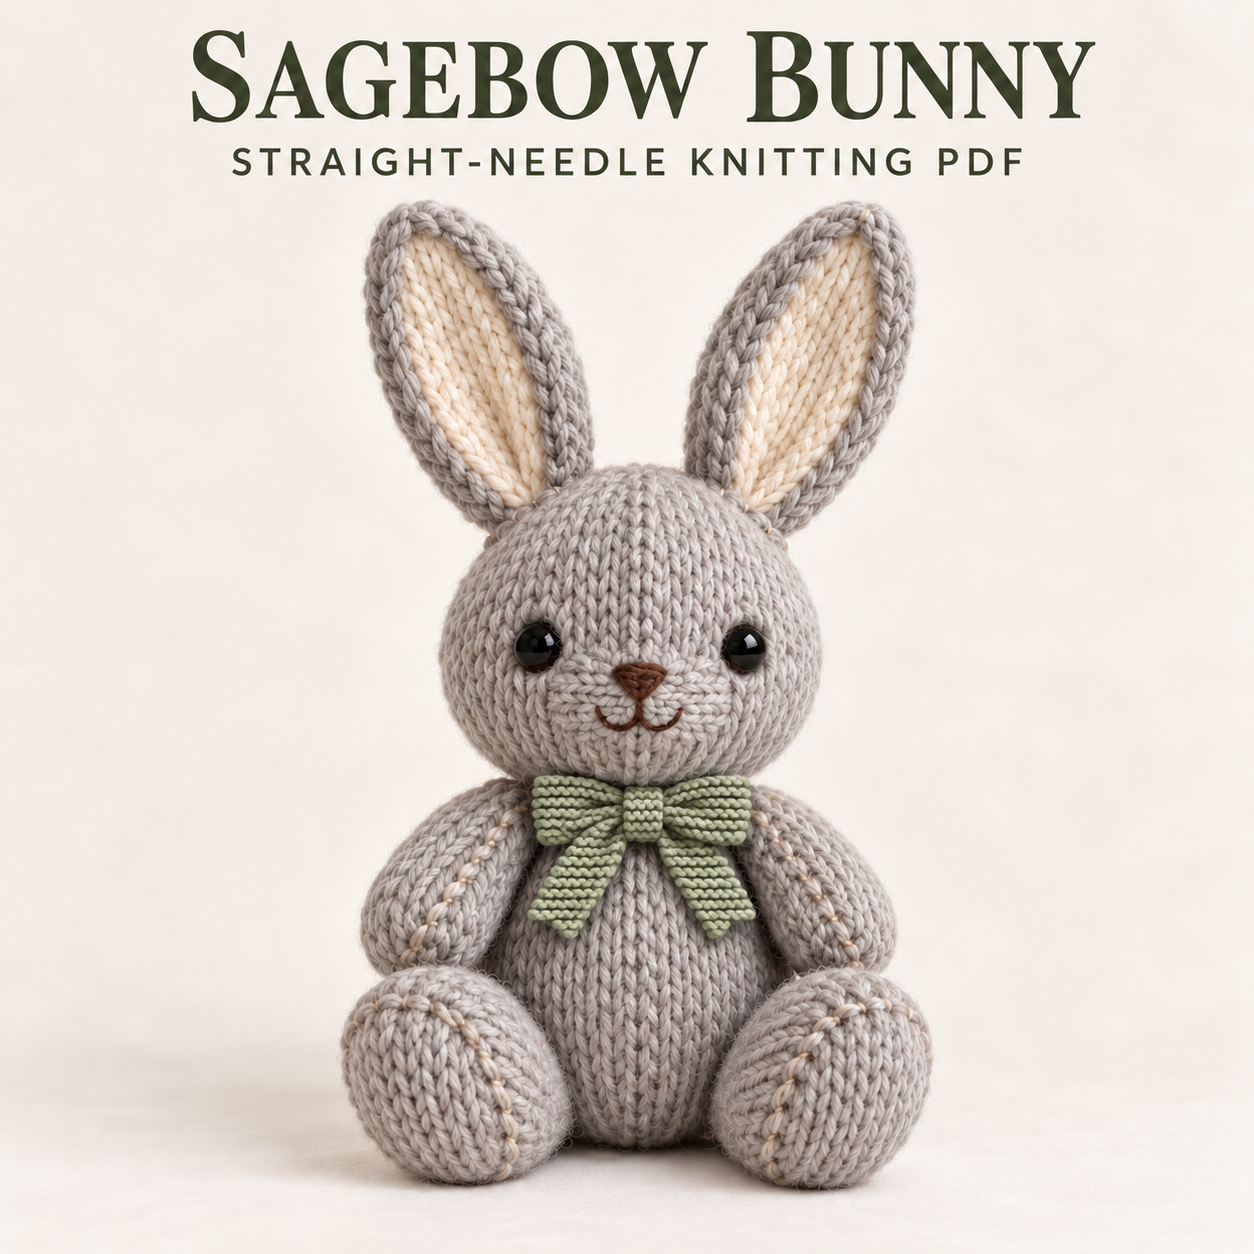
The sage bow bunny knitting pattern creates a seated grey rabbit with upright cream-lined ears, a brown embroidered face, and a green bow with two tapered tails. Cream stitches trace the arm and foot seams, giving these joins a visible role in the design. The head and body have their own contrast seams at the back, while the front remains grey beneath the bow. This is a straight-needle project with separate flat pieces, suitable for confident beginners to intermediate knitters who are comfortable with shaping and sewing. Below, you will find a practical overview of the supplies, seam orientation, stuffing, and assembly. The complete written instructions are available in the PDF download near the bottom.
About This Sage Bow Bunny Knitting Pattern
Sagebow has a rounded head, a softly pear-shaped torso, relaxed arms, and oval feet that project forward. A small grey muzzle is sewn beneath the eyes and lightly padded. The brown nose forms an inverted triangle, with a short stem and two shallow mouth curves below it.
Each ear has two grey outer panels and one cream inner panel. The ears rise from the crown with a slight outward angle. A white knitted ball forms the low rear tail; it should be hidden in a straight-on front view. The sage neck band supports a separate bow, centre strip, and two downward-pointing tails.
Skills, Gauge, and Design Targets
The PDF lists confident beginner to intermediate difficulty. Knit and purl stitches, simple increases and decreases, flat stockinette, garter stitch, mattress seaming, and embroidery are the main skills. Sewing requires attention because the contrast yarn makes a twisted limb seam more noticeable.
The sage bow bunny knitting pattern gives approximate dimensions of 29–31 cm seated height to the ear tips, approximately 16–17 cm across the feet, and 13–15 cm front-to-back depth. Each ear is about 8.5–9 cm long, and the tail about 4–4.5 cm across. These dimensions can change with gauge, seaming, filling, and blocking.
Gauge is 18 stitches and 26 rows per 10 cm in flat stockinette after light blocking. Stitch counts include the first and last stitches; the source explicitly says not to add extra seam stitches.
Materials and Tools
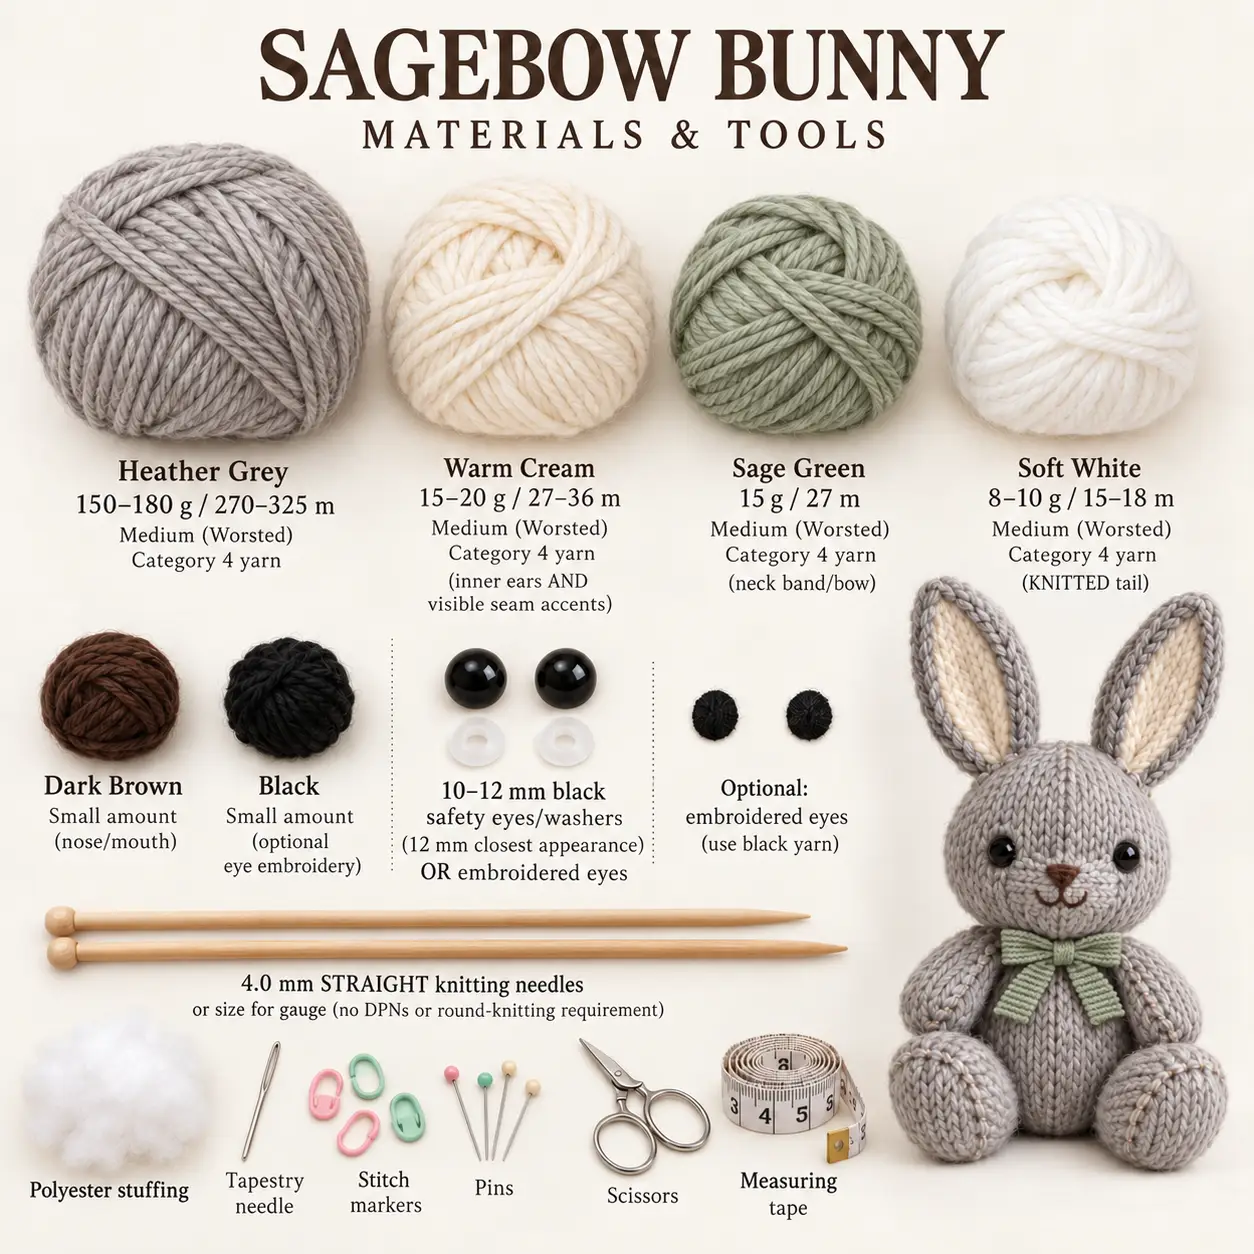
Choose smooth medium or worsted category 4 yarn. Approximate amounts are 150–180 g/270–325 m heather grey, 15–20 g/27–36 m warm cream, 15 g/27 m sage green, and 8–10 g/15–18 m soft white. Cream is used for both the inner ears and visible seam accents. A small amount of dark brown supplies the nose and mouth.
Use 4.0 mm straight knitting needles, or the size that produces the stated gauge. Eye options are a pair of 10–12 mm black safety eyes or embroidered eyes; the PDF identifies 12 mm as the closest visual choice. Add black yarn if choosing embroidery.
You also need polyester stuffing, a tapestry needle, stitch markers, pins, scissors, and measuring tape. The source does not give a stuffing weight. A lightly heathered grey and smooth plied yarn help preserve the visible stitch definition.
Stockinette, Garter Stitch, and Contrast Seams
Most plush components use flat stockinette, creating smooth V stitches on the outside. The neck band, bow rectangle, centre band, and bow tails use garter stitch. Their horizontal ridges distinguish them from the grey fabric.
The sage bow bunny knitting pattern separates structural seams from decorative stitching. Grey yarn joins the long edges securely; relaxed cream overcast stitches are added directly across those seams. The accents must remain visible without gathering the fabric.
Head and body accents follow centre back. On the arms and feet, the finished contrast lines face toward the inner/front side as a mirrored pair. Keep this orientation in mind before attaching either limb.
Construction and Assembly Order
In the sage bow bunny knitting pattern, prepare the layered ears first. Knit the head and install optional eye hardware while its back is accessible. Gather the crown, join the back seam, add the cream accent, and stuff through the lower neck opening. Embroider the grey muzzle before attaching it below the eyes.
Finish the body with its base closed and neck open. Seam and fill the arms and feet through their attachment openings. The two open neck edges are then joined with front and back landmarks aligned; filling can be adjusted through the final section before closure.
Add ears, arms, feet, and the white tail. Wrap the sage neck band with its overlap at centre front, tack it against rotation, and place the bow over that overlap. The bow tails attach behind the centre with their narrow ends left free.
Tips for Visible Seams and a Balanced Seat
- Match head and body back seams before joining the neck. This keeps centre front directly opposite both seams.
- Orient the muzzle with its cast-on edge at the top for embroidery and placement; its row numbers run downward on the finished face.
- Rotate the limb seams toward the inner/front side before pinning. Mirror that rotation across the body.
- Keep most filling in the lower body and toe areas, with softer shoulders and neck contact.
- Leave the upper ears flat. If support is needed, the PDF allows only a trace of filling in the lower 2 cm.
- Compare foot contact on a table before finishing the joins, then secure the neck band beneath the bow.
These checks preserve the intended shape of the sage bow bunny knitting pattern without making the attachment stitches excessively tight.
Troubleshooting
Why does this project Tip Backward?
Flatten the lower body and feet gently, move a little filling forward inside the feet, and review their attachment height. The PDF suggests retacking them slightly lower if necessary. Check both feet together before changing only one side.
Why Is the Back Seam Twisting?
Open the affected seam section and match the row edges one-for-one before resewing. Keep the cream accent relaxed when replacing it. Decorative stitches cannot correct a structural join that was sewn at mismatched row positions.
Why Does One Ear lean Too Far?
Add small hidden anchoring stitches at the base on the leaning side. Compare both outward angles first. Filling the entire ear would make it bulky and change the flat layered silhouette described by the pattern.
Care and Eye Options
Follow the yarn and stuffing care labels. Gentle spot-cleaning helps preserve the shaped ears and visible seam details. If washing is suitable, avoid wringing, reshape the feet and bow, and let the filling dry completely away from direct heat.
Inspect seams, embroidery, and attached parts before use. The sage bow bunny knitting pattern calls for securely embroidered eyes instead of detachable eye components for recipients under three. Follow the requirements relevant to the intended recipient; choosing embroidery does not replace careful assembly.
Download Sagebow’s Complete PDF
The complete sage bow bunny knitting pattern includes the component instructions, counts, gauge, approximate measurements, face coordinates, placement maps, stuffing guidance, assembly, and troubleshooting. Consult it for the individual shaping rows and precise seam positions. The source permits personal handmade creation unless separate terms apply and prohibits redistribution of the digital instructions.
DIGITAL DOWNLOAD ONLY — NO PHYSICAL ITEM WILL BE SHIPPED.
Leave a Reply