
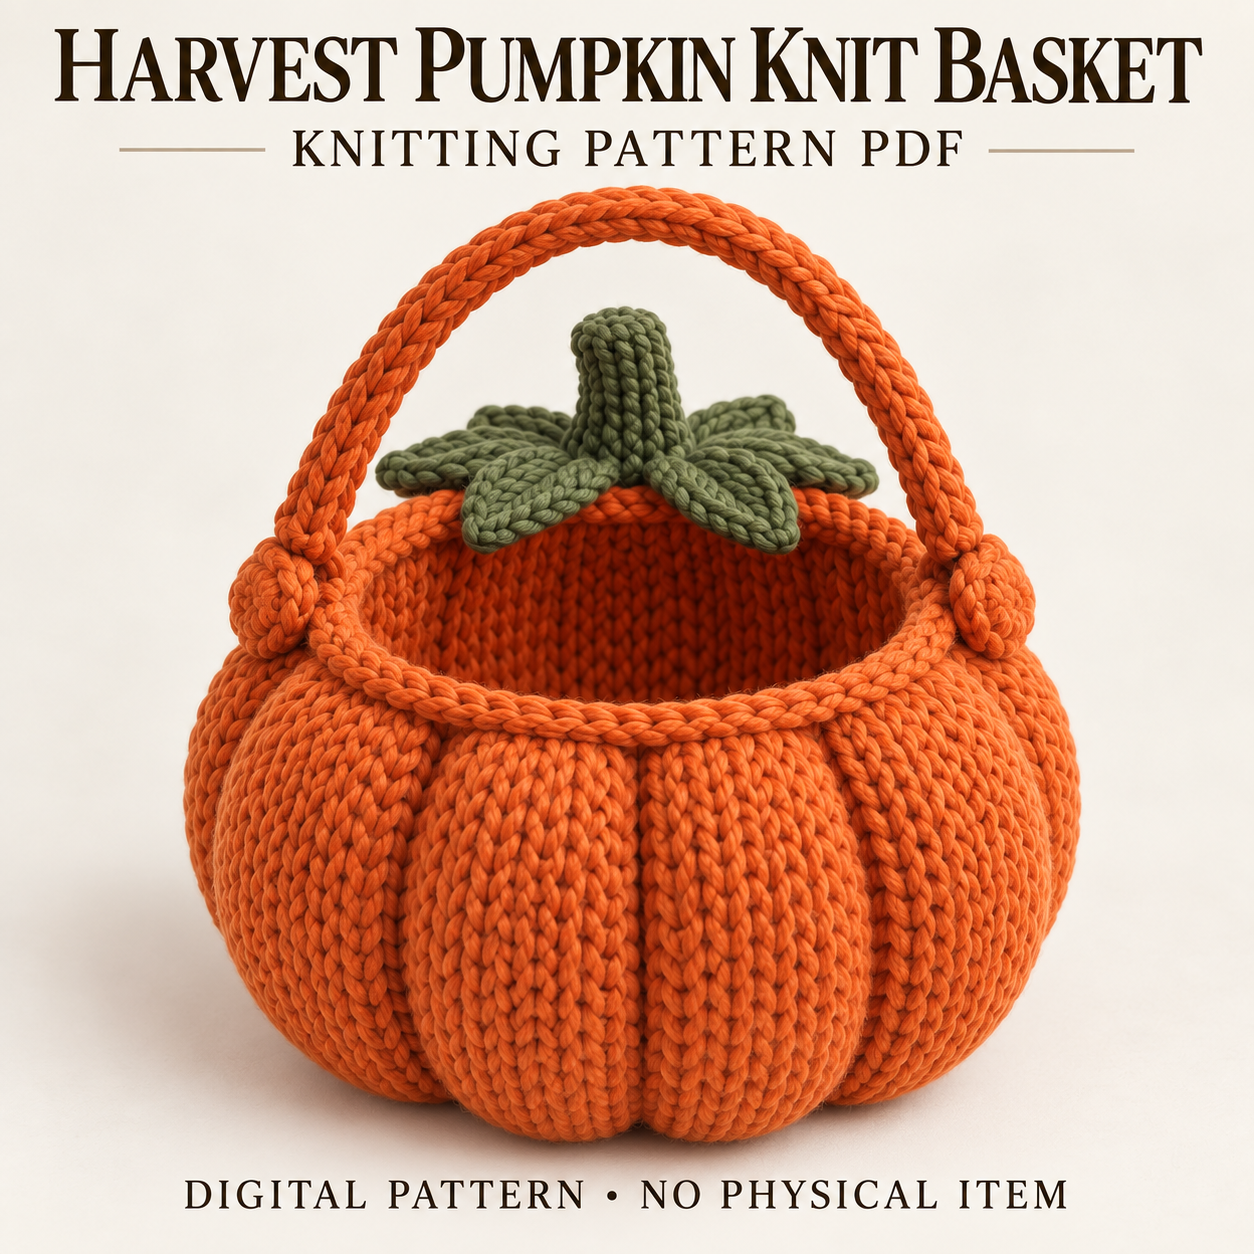
This pumpkin basket knitting pattern makes an open orange container with eight rounded lobes, a narrower I-cord rim, and an arched knitted handle. Five olive-green leaves and a short stem decorate the back half of the rim, leaving the front of the opening clear. The project uses super-bulky yarn for the body and denser knitting for its small finishing pieces. Its shape comes from gauge and internal sculpting strands, with optional supports for the base and handle. This guide explains the materials, construction, and assembly choices described in the PDF. Download the complete instructions for the detailed body shaping, I-cord methods, and finishing sequence.
Features of the pumpkin basket knitting pattern
This is an open-top basket, without a lid or stuffed body. The leaves cluster toward the back, while the handle spans the opening between side attachment points. Two orange discs cover the handle ends on the outside of the basket.
Eight purl columns guide the sculpting that gives the body its pumpkin outline. The body expands before narrowing toward the rim, so the finished form combines a full lower section with a defined opening. Optional removable base support and an optional cotton handle core can add structure, but neither replaces careful knitting and attachment.
Skill level, gauge, and approximate size
The PDF describes a confident-beginner project. Most of the body is circular knitting, with flat leaves and I-cord finishing. You should be comfortable working a small circular start, increasing and decreasing, keeping markers in place, and sewing parts securely.
The pumpkin basket knitting pattern uses a relaxed gauge of 9 stitches and 13 rounds per 10 cm on 8 mm needles. approximate dimensions include 28–30 cm width, 27–29 cm depth, and 18–20 cm height to the rim. The planned opening diameter is 21–23 cm, with a flatter base of approximately 18–20 cm. Including the handle, the target height is 33–37 cm. Final dimensions depend on gauge and finishing tension.
Yarn, needles, and optional supports
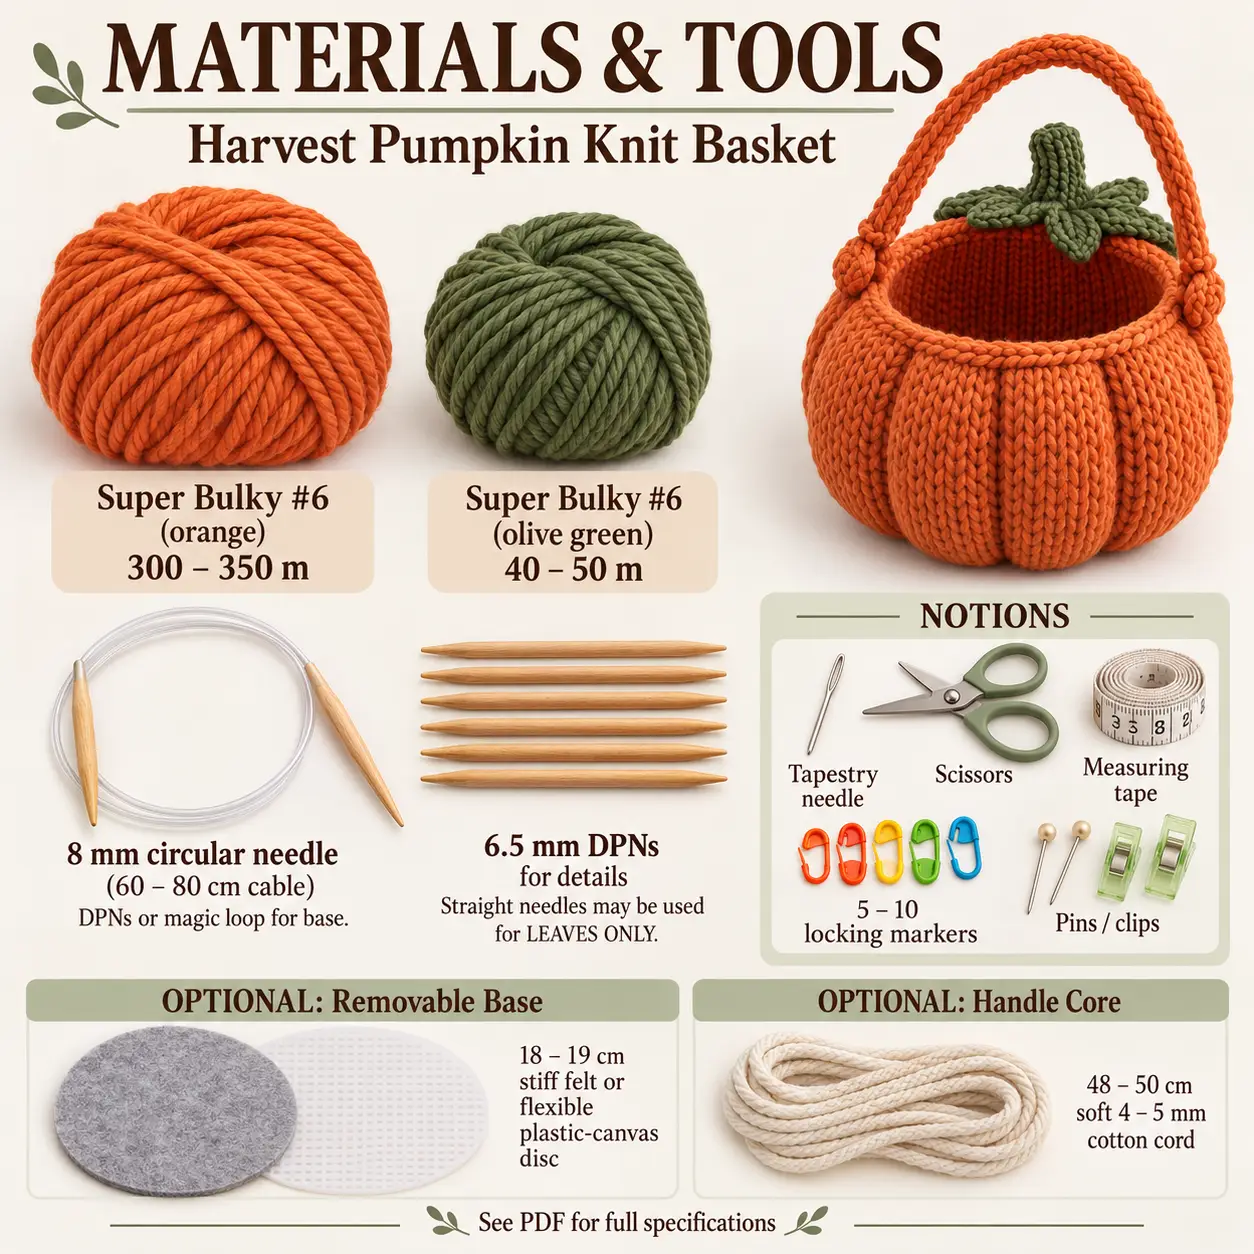
Use smooth, plied super-bulky yarn: 300–350 metres of orange and 40–50 metres of olive green. These quantities are lengths, not weights. Check your yarn’s meterage when planning the number of balls.
The main needle is an 8 mm circular with a 60–80 cm cable. Double-pointed needles or magic loop help with the small base. Details use 6.5 mm DPNs; straight needles can be used for the leaves, but the I-cord pieces need suitable needles for that method.
For the pumpkin basket knitting pattern, gather a tapestry needle, scissors, measuring tape, five to ten locking markers, and pins or clips. Optional additions are an 18–19 cm removable stiff-felt or flexible plastic-canvas base disc and a 48–50 cm length of soft 4–5 mm cotton cord for the handle. No stuffing is used anywhere in this project.
Circular shaping and I-cord techniques
The basket begins at the base centre and grows upward in the round. Eight purl columns act as groove guides. The body reaches its fuller 80-stitch section before narrowing to a 64-stitch rim, with the complete shaping sequence provided in the PDF.
The pumpkin basket knitting pattern finishes the rim with an applied three-stitch I-cord bind-off. Each cycle consumes a body stitch, so follow that method carefully rather than substituting an ordinary bind-off beneath a separate cord. Keep the centre-front, centre-back, and side references visible through the finishing. The beginning of round is the centre back; the front lies opposite it, and the handle attaches at the side quarter points.
Constructing the body and sculpting the lobes
Complete the base and body, then follow the PDF’s finishing sequence to define the grooves. Internal shaping strands travel radially from the base centre and upward along the grooves toward the rim. Their purpose is to emphasise the pumpkin shape with gentle, even tension.
Adjust adjacent grooves together and check the opening while shaping. Over-tightening can pull the rim inward or distort the base. If you use towels temporarily to support the shape during finishing, remove them afterwards; they are shaping aids, not permanent filling.
Fit an optional base disc so it remains removable. It should support the lower area without forcing the surrounding lobes outward or turning the basket into a rigid, over-stretched form.
Attaching the handle, leaves, and stem
Work the dense six-stitch I-cord handle separately. If using the optional cotton core, insert it before attachment. The planned visible handle arc is 43–49 cm, with a rise of 15–17 cm; check the balance of the arch against the body before sewing.
The pumpkin basket knitting pattern places both handle ends at equal depth outside the rim. Secure them with matching overlap, then use the orange discs to cover the attachment areas. Check that the cord has not twisted before completing the sewing.
Arrange the five leaves along the back half, securing their bases while leaving their tips free to curl slightly. Add the short green I-cord stem at the centre back. Preserve a usable opening at the front rather than spreading the leaves across the whole mouth.
Troubleshooting the opening and handle
Why is the opening tight on my pumpkin basket knitting pattern project?
An overly tight I-cord bind-off can restrict the rim. Check its tension and whether the applied cord is consuming the body stitches as directed. Correct the finishing before attaching the handle and foliage, while access to the rim remains straightforward.
Why do some lobes look smaller?
Compare neighbouring shaping strands and their tension. Ease a groove that has been drawn too deeply, then rebalance the surrounding divisions. Check the shape from above so the opening and base stay centred while you adjust the sides.
Why does the handle twist or stretch?
Re-pin both ends with the arch untwisted and the overlap equal. If using the optional cotton core, fit it before final attachment. A core can support the knitted handle, but the PDF does not establish a tested carrying capacity; inspect the connections and use the basket accordingly.
Caring for an open knitted basket
Follow the yarn label, accounting for any optional supports. Remove the base insert before cleaning. If the handle contains a core, consider that material’s care requirements too rather than assuming every component can be soaked together.
Gentle surface cleaning may be suitable for small marks. Avoid wringing the body or suspending a damp basket by its handle. Reshape lightly and let it dry fully away from direct heat. Store it uncompressed to preserve the lobes and handle arch. Periodically inspect the covered handle connections and leaf bases, repairing loosened sewing before further handling.
Download the complete Harvest basket PDF
The pumpkin basket knitting pattern PDF includes the full circular body, applied rim, dense handle, leaves, stem, and assembly directions. Use the complete file for stitch counts and the detailed shaping-strand method.
DIGITAL DOWNLOAD ONLY — NO PHYSICAL ITEM WILL BE SHIPPED.
Leave a Reply