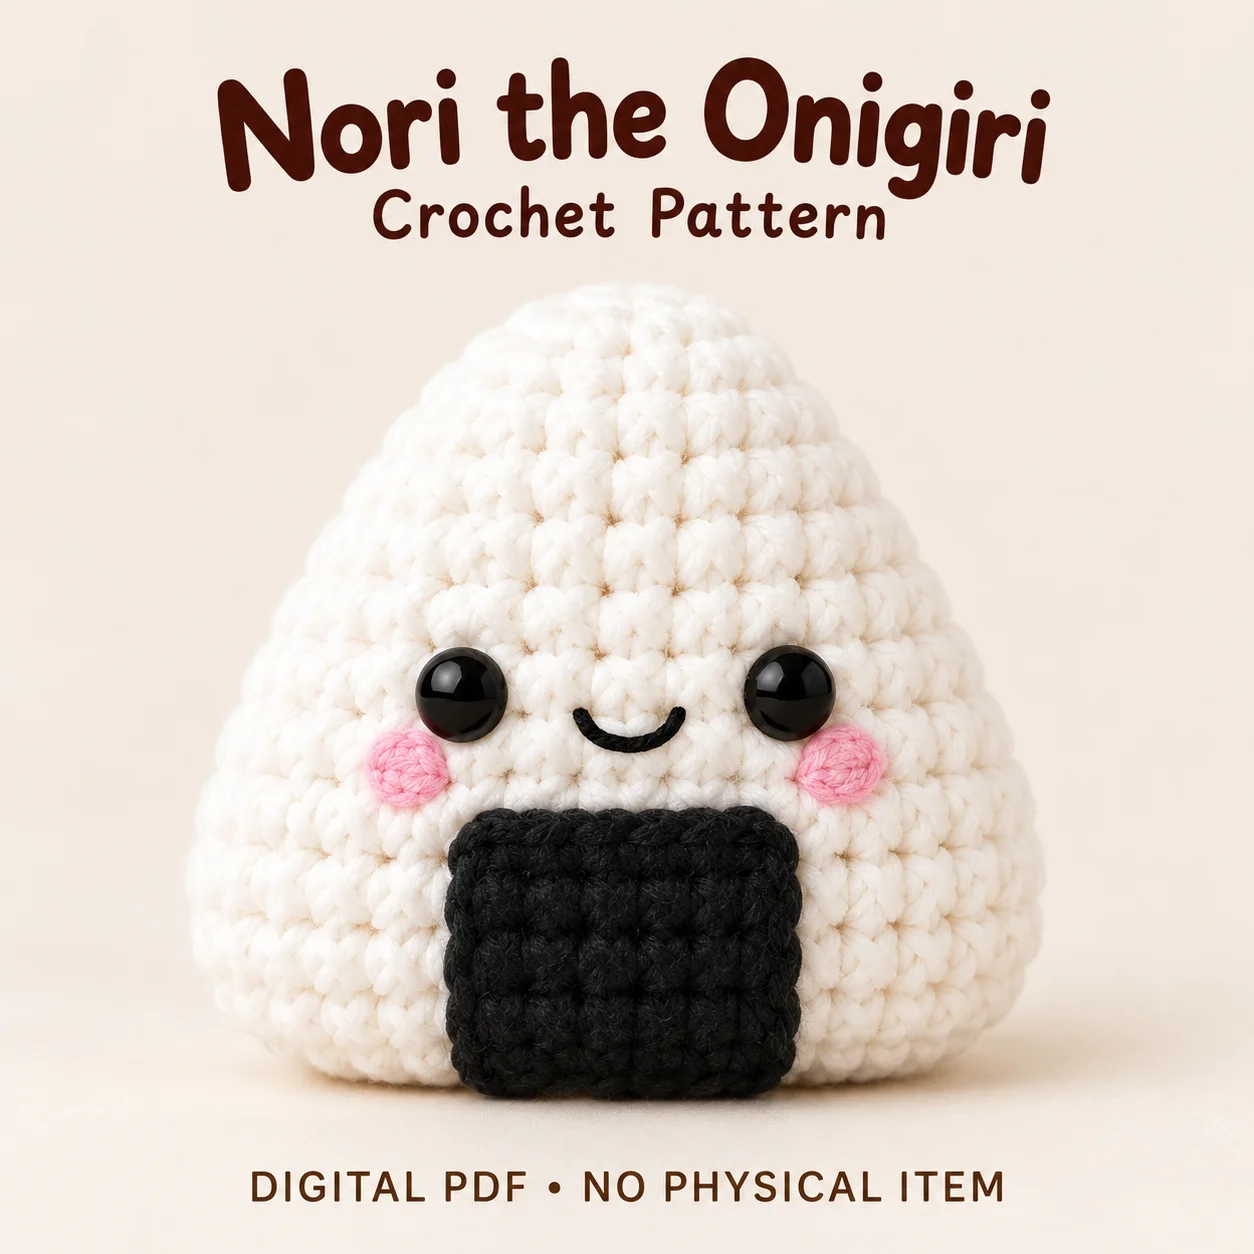
This onigiri crochet pattern turns a rice-ball shape into Nori, a compact amigurumi with a rounded triangular front, pink cheeks and a small embroidered smile. A separate black rectangle sits on the lower face, leaving a visible white band beneath the mouth. The main body is worked in continuous spiral rounds, while the nori panel uses turned flat rows and the cheeks are small joined circles. The PDF uses US terminology and explains how stuffing shapes the white body into a soft wedge rather than a sphere. Below are the supplies, gauge distinctions and placement checks worth planning before you start. Keep the complete PDF nearby for the working instructions.
Features of This onigiri crochet pattern
Nori’s outline has a soft crown, broad front and plump sides. The triangular effect comes from the body shaping and careful filling, without sharp folded ridges. Its underside is kept relatively flat so the lower silhouette remains distinct.
The black panel belongs only on the lower front. Its sides should remain upright, and its bottom edge stops at or just above the base-turn ridge. It does not wrap underneath or continue around the back. Two small pink discs and black eyes frame the smile.
Skills and Construction Methods
The PDF describes the project as suitable for a confident beginner. You will use a magic ring, single crochet, evenly distributed increases, invisible decreases, back-loop-only work, flat rows, applique sewing and embroidery.
The onigiri crochet pattern uses a moving beginning-of-round marker to count the body rounds. Before facial placement, choose a subtle increase line as centre back and mark centre front opposite it. The panel’s turning chain and the cheeks’ joining slip stitches are not counted as working stitches.
Materials and Tools
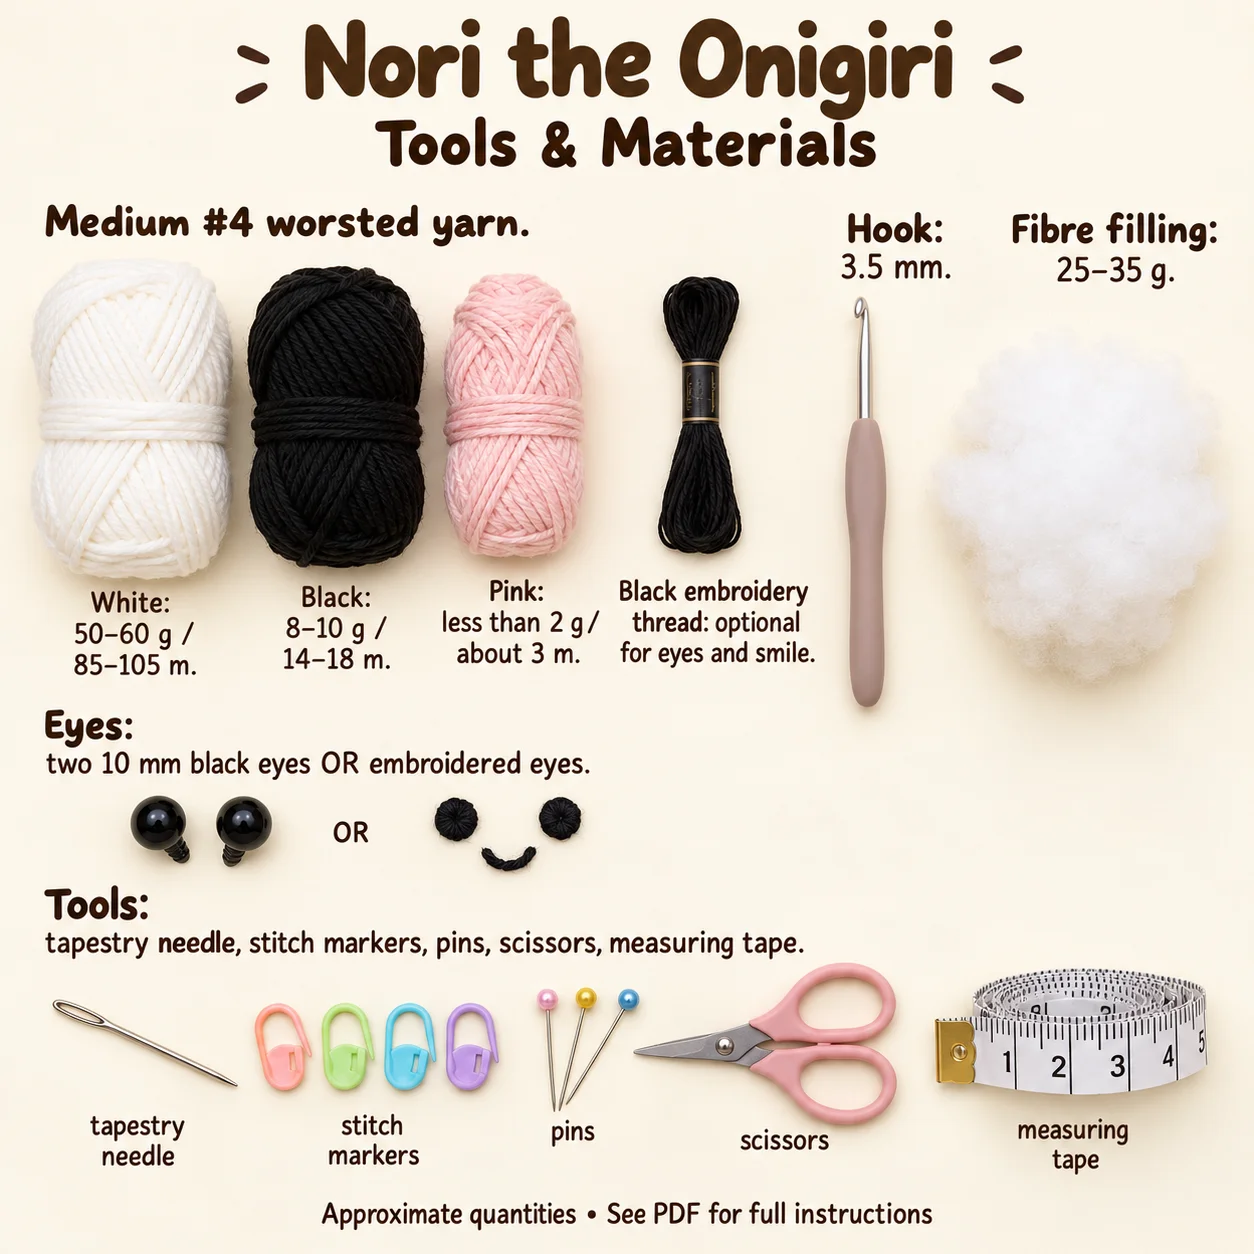
Choose medium Category 4 worsted yarn in smooth cotton or a cotton-acrylic blend. Use compatible yarn weights for the separate coloured pieces. Approximate amounts are:
- White: 50–60 g, or 85–105 m.
- Black: 8–10 g, or 14–18 m, for the panel and smile.
- Pink: less than 2 g, or approximately 3 m.
- Black embroidery floss: optional for the smile and embroidered eyes.
Have a 3.5 mm hook, approximately 25–35 g of polyester filling, two 10 mm black safety eyes or embroidery supplies, a blunt tapestry needle, locking markers, pins, scissors and measuring tape. Spare markers help retain the front/back guides; a row counter is optional.
The PDF permits 12 mm eyes for a bolder look, with spacing checked before fixing the backs. For an alternative without detachable eye components, use securely embroidered eyes and follow relevant local safety requirements.
Body Gauge and Flat-Panel Sizing
The body gauge target is approximately 16 single crochets and 17 rounds per 10 cm, measured on a practice tube. The black rectangle uses turned rows, so the body round gauge should not be treated as its vertical row gauge. Measure the finished panel directly against its stated dimensions before sewing.
The onigiri crochet pattern gives a height target of 11.5–12.5 cm, front width of 10.5–11.5 cm and depth of 7–8 cm. The panel target is approximately 5 cm wide and 4–4.2 cm high. These are approximate finished dimensions from a digital pattern without physical prototype testing.
How the Pieces Come Together
The white body begins at the crown and grows toward its broad lower section. A back-loop-only round defines the base transition. Pause before the underside decreases to choose the face orientation and fit safety eyes while the interior remains accessible.
Stuffing is added gradually as the underside narrows, keeping the crown rounded and the front broad. Finish the closure without packing the final rounds into a hard bump. If using embroidered eyes, they are added after the body is stuffed and closed, following the marked positions.
The onigiri crochet pattern finishes the smile and cheeks before attaching the black rectangle. Pin its top and bottom centres to the front guide, then check the corners. Small surface stitches around all four edges hold it without pulling the white body inward.
Tips for a Rounded Rice-Ball Shape
- Keep the increase lines softly rounded rather than sharply creased.
- Use small filling tufts to avoid lumps near the crown.
- Flatten the front gently while keeping the side corners plump.
- Leave less filling near the final underside closure.
- Measure the panel before sewing instead of stretching it to fit.
- Keep a clear white band between the mouth and the panel.
For the onigiri crochet pattern, the centre-front guide is useful throughout facial finishing. Compare both cheek centres on the same round, and check the panel’s lower edge against the base ridge. Remove all guides only after these placements have been confirmed.
Troubleshooting
Why Does My onigiri crochet pattern Project Look Like a Ball?
Excess filling can push the broad front outward and soften the side corners too much. Reduce stuffing pressure when access is available, then gently massage the two front corners outward and the face flatter. Avoid creating hard creases along the increase lines.
Why Does the Black Panel Tilt?
Align its top and bottom centres with the same centre-front guide before pinning the corners. Check that the rectangle itself is even and not stretched. If its size differs from the target, adjust the flat-row tension or remake it before attaching it.
Why Is There a Bump Under the Base?
The final underside rounds may contain too much filling. Redistribute some upward and gently massage the closure inward. Keep the back-loop-only turning line visible rather than pulling the panel below it to disguise the shape.
Finishing, Care and Handling
Check the crown, face and panel from both sides as well as the front. The smile should sit on the central guide, cheeks should match, and all four panel edges should be secure without puckering. Remove pins and markers and bury the remaining tails deeply.
Follow the care labels for your yarn and filling. When moving the onigiri crochet pattern project, hold the white body instead of pulling the black applique. Inspect facial embroidery and sewn edges again after cleaning or repeated handling.
Download the complete PDF pattern
This PDF contains the complete crochet pattern for Nori the Onigiri. Digital download only; no physical item will be shipped.
Related projects: Boba the Bubble Tea, Benny the Bee, Mimi the Mushroom, Sunny the Sun.
Browse the crochet pattern collection for more project overviews.
Leave a Reply