
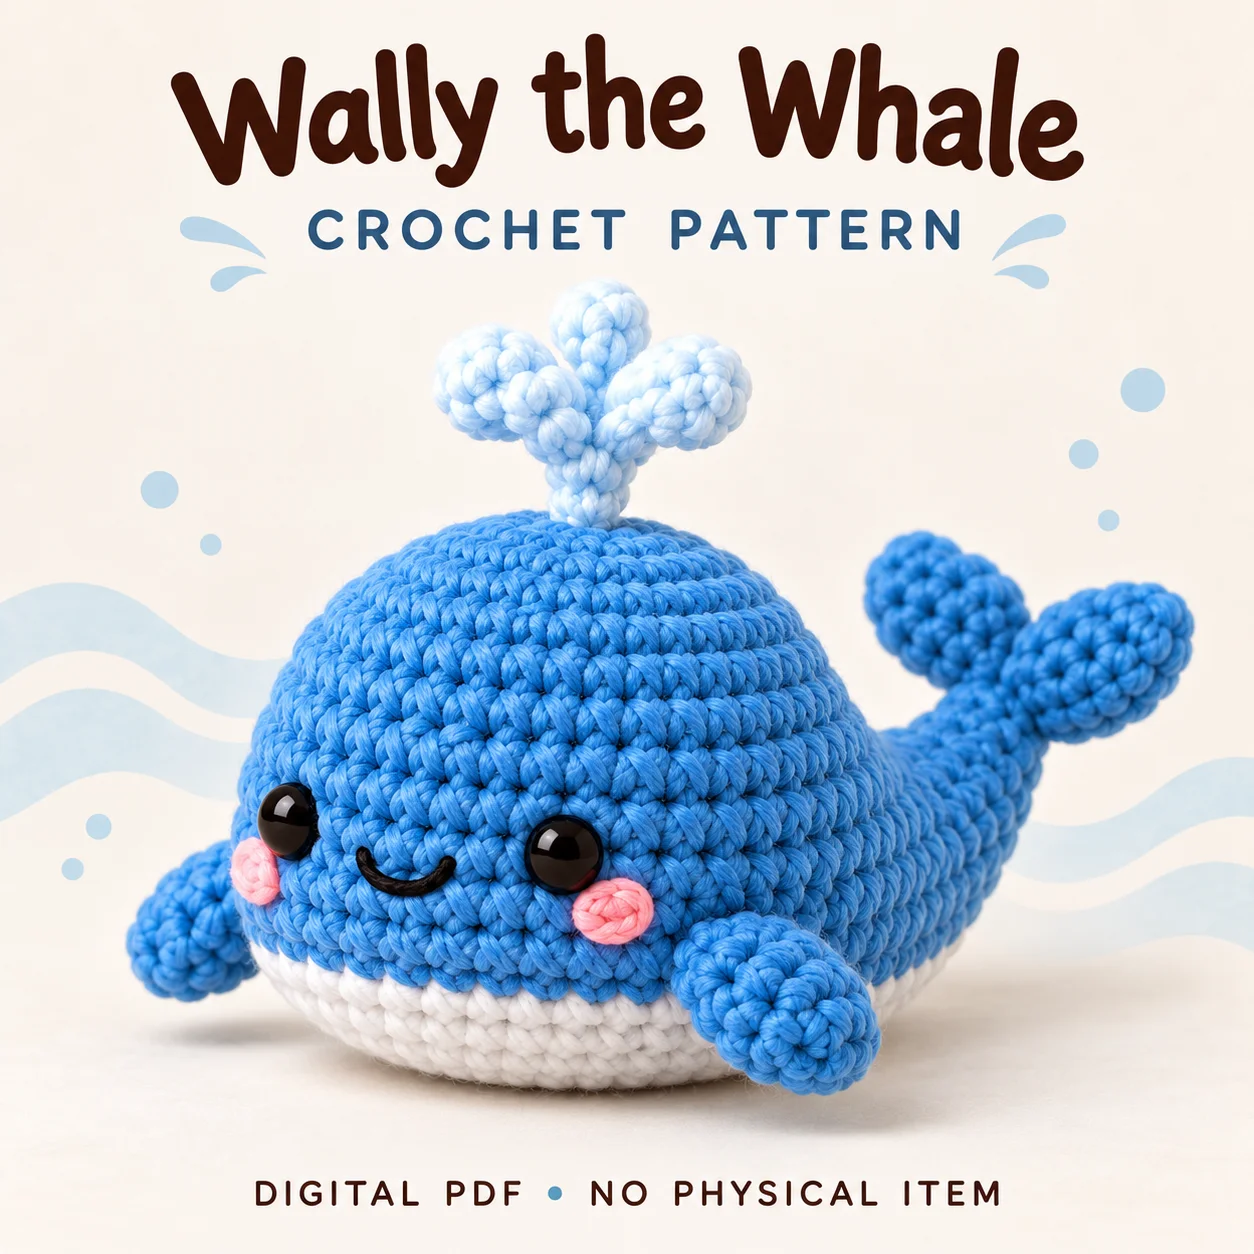
This crochet whale pattern introduces Wally, a rounded blue amigurumi with a white underside, two side fins and a gently lifted tail. A pale ice-blue spout finishes in three separate droplets, while pink cheeks and an embroidered smile complete the face. The PDF uses US crochet terminology and builds the main body from the nose toward the tail, making its round numbers useful front-to-back placement guides. Most pieces use continuous spiral rounds, with a turned-row belly patch added separately. This overview explains the materials, proportions and assembly checkpoints to consider before starting. Keep the complete PDF beside your work for the individual rounds, face coordinates and attachment maps.
Features of This crochet whale pattern
Wally has an elongated capsule-shaped body rather than a sphere. Its nose stays rounded, the middle remains broad, and the rear tapers toward the tail attachment. The white patch covers the lower front and underside, leaving generous blue sidewalls and crown visible.
There are two short unfilled fins and two softly rounded tail flukes. The tail base curves upward, while the flukes fan into a shallow V. The spout is one stem with three lightly filled drops, not a single ball. Small flat pink circles sit below and outward from the eyes.
Skills and Crochet Method
The PDF lists advanced beginner or intermediate skill level. Useful techniques include a magic ring, single crochet, increases, invisible decreases, row decreases, surface sewing and simple embroidery. Use a marker in the first stitch of every spiral round.
The crochet whale pattern combines two methods: spiral rounds for the three-dimensional pieces and turned rows for the white belly. The belly’s turning chain does not count as a stitch. The cheek discs use a joined round, and their joining slip stitch is also excluded from the count.
Yarn, Filling and Tools
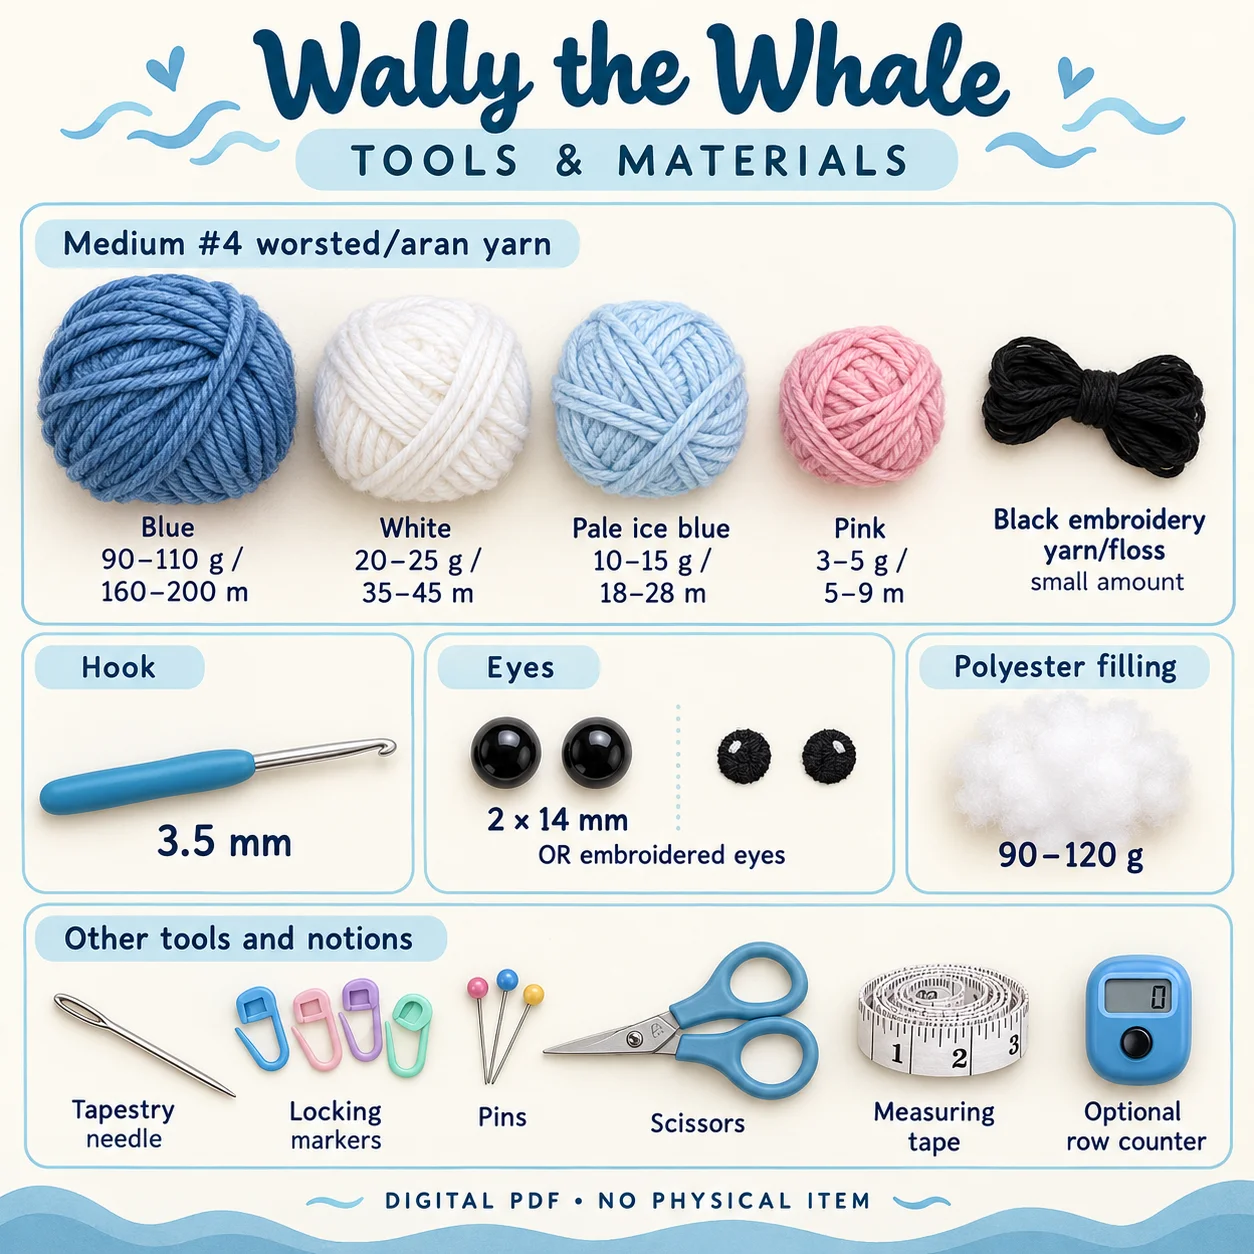
Choose medium number 4 worsted or aran yarn, such as smooth cotton, cotton-acrylic or anti-pilling acrylic. Approximate amounts are:
- Whale blue: 90–110 g, or 160–200 m.
- White: 20–25 g, or 35–45 m.
- Pale ice blue: 10–15 g, or 18–28 m.
- Pink: 3–5 g, or 5–9 m.
- Black embroidery yarn or floss: a small amount.
- Polyester fibre filling: 90–120 g.
Prepare a 3.5 mm hook, two 14 mm black safety eyes or embroidered eyes, a tapestry needle, locking markers, pins, scissors and measuring tape. A row counter is optional.
For an alternative without detachable safety-eye components, embroider the eyes securely. Follow applicable local safety requirements for the intended finished item. Both eye options are completed while the body interior is accessible.
Gauge and Finished Design Targets
The target gauge is approximately 17 single crochets and 18 rounds per 10 cm, measured on the side of a small practice tube without stretching it. Firm fabric should contain the filling while remaining workable and flexible.
The crochet whale pattern gives an overall-length target of 25–28 cm from nose to fluke tips. The body alone is approximately 20–22 cm long, and the height including the spout is around 16–18 cm. These are calculated finished-size guidelines. No physical prototype or test crochet was used, and yarn, hook, tension and filling affect the result.
Construction and Assembly Plan
Work the blue body from the nose toward the tail and complete the eyes before the rear opening becomes small. Add filling during the taper, shaping the nose evenly and keeping the underside gently flattened. Close the body before adding the remaining surface details.
The crochet whale pattern then adds the belly patch, cheeks and smile, followed by the fins, tail and spout. Pin the white patch along the underside and ease its edge onto the curve. Avoid stretching it so far that its rows or the blue body become distorted.
Each fin opening flattens into paired sewing positions. The tail base remains open for attachment over the closed rear tip, using the matching attachment ring identified in the PDF. Assemble the two flukes onto its narrow end first. Join the three droplets to the spout stem, then sew the stem upright on the crown.
Tips for a Rounded Whale Silhouette
- Check the eyes from directly in front before fitting hardware backs.
- Keep the white patch confined to the lower body.
- Leave the fins unfilled and match their forward angles.
- Use very little filling in the rounded tail flukes.
- Pin the tail at four quarter points before completing its seam.
- Check the spout from the front and both sides while sewing.
For the crochet whale pattern, balanced seam tension helps preserve the rounded body. Tightening an attachment excessively can dent the blue surface or pull an accessory off centre. Sew small sections, inspect the angle, and adjust the pins before securing the final stitches and burying the yarn tail.
Troubleshooting
Why does the Spout Lean?
Check that its base is centred on the crown and that the circular seam is evenly distributed. A second reinforcing pass on the side opposite the lean can improve the attachment. Catch surface loops and avoid tightening enough to pull the crown inward.
Why Does the Tail Point Sideways?
The open tail-base edge may not sit evenly around its designated body ring. Recheck the quarter-point pins and reseat the first seam stitches before completing the join. Compare the top and rear views, then refine the gentle upward angle without creating a deep body dent.
Why Is the Underside Too Round?
Move some accessible filling upward toward the crown and sides. The underside should be gently flattened rather than packed into a hard platform. Ease the belly-patch seam if it is cinching the surface, and keep the patch smooth along the curved lower body.
Finishing and Care
Inspect the belly edge, both fin seams, the tail ring and the spout attachment. Check that the cheek discs lie flat and the smile remains centred. Remove every pin and temporary guide, secure the embroidery, and bury the remaining tails.
Follow the labels for your chosen yarn and filling when cleaning. Support the main body when moving the crochet whale pattern project rather than lifting it by the spout or tail. After handling, inspect the small attachments and restore the body shape gently without stretching the stitches or relying on unapproved heat.
Download the complete PDF pattern
This PDF contains the complete crochet pattern for Wally the Whale. Digital download only; no physical item will be shipped.
Related projects: Ollie the Octopus, Poppy the Penguin, Finn the Turtle.
Browse the crochet pattern collection for more project overviews.
For more animal amigurumi including ocean creatures, explore the free crochet animal pattern library. If you change to a different plush yarn, the Craft Yarn Council yarn-weight guide can help compare thickness categories; verify Wally’s gauge and fabric before assembly.
Leave a Reply