
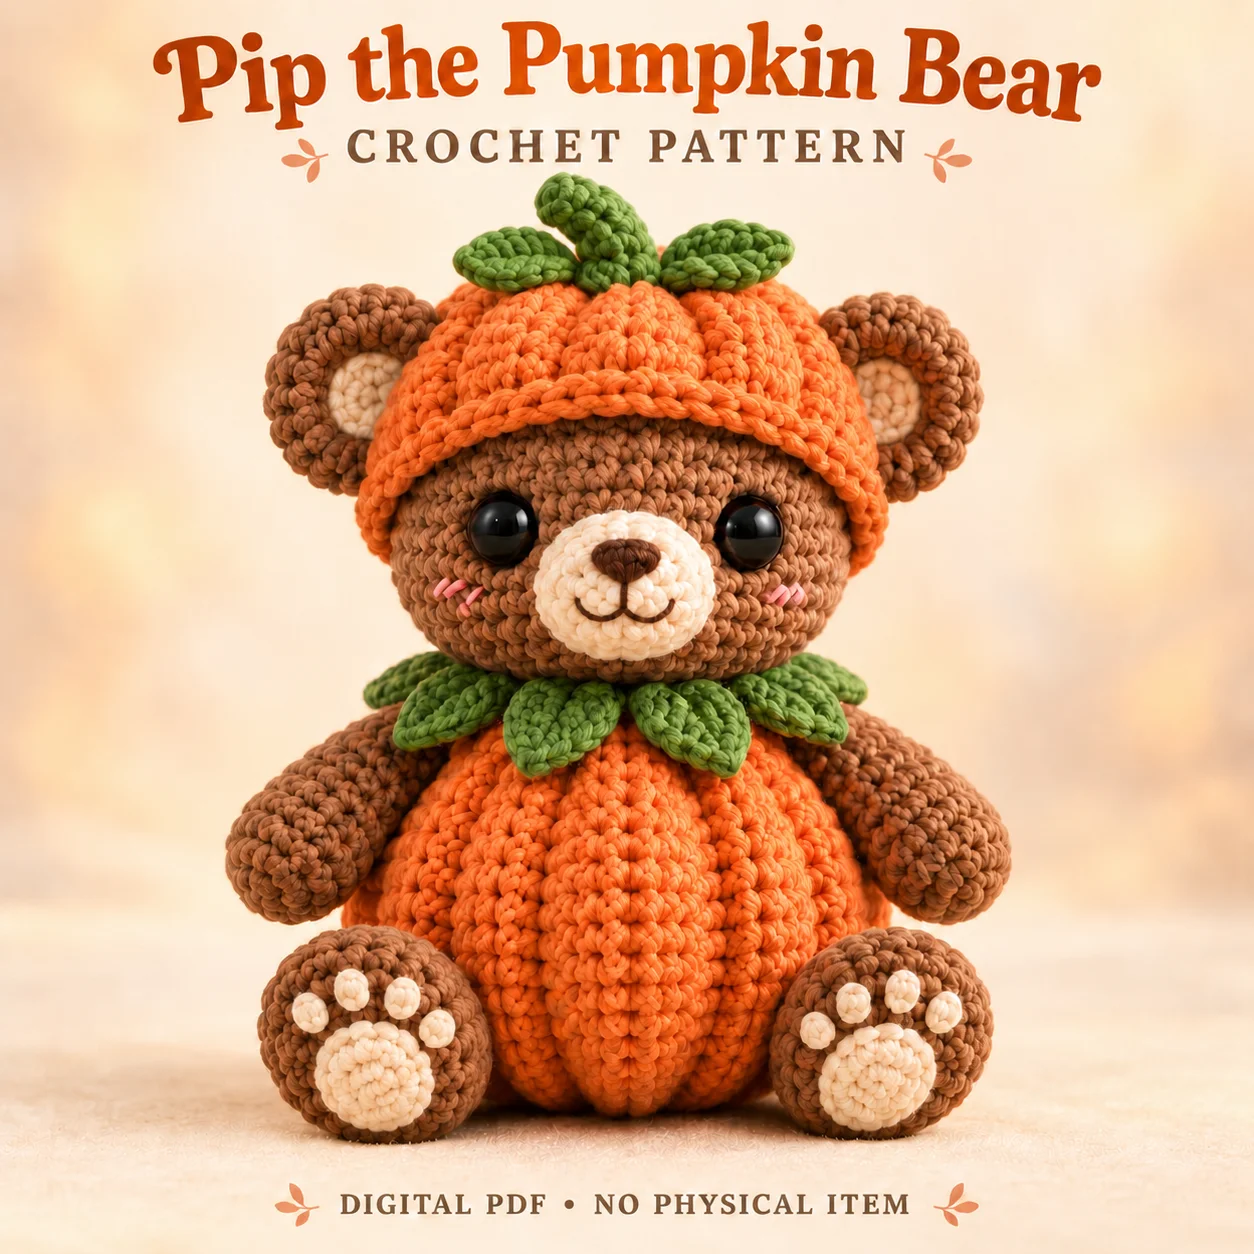
Pip is a brown seated bear dressed in an orange pumpkin body and matching cap, with a leafy green collar. This crochet pumpkin bear pattern combines stuffed animal shapes, surface ribs and small embroidered paw details. The supplied corrected PDF is written for intermediate makers using US terminology and smooth worsted or aran yarn. Cream inner ears and a horizontal muzzle frame the face, with a dark brown nose and pink cheek stitches. Eight raised ribs decorate both the body and cap. Read the ribbing and attachment order before sewing the limbs, because those seams can obstruct access to the orange surface.
Features of this crochet pumpkin bear pattern
The broad orange body remains visible between the brown arms and feet. Six flat green leaves circle the neck seam, including three across the front. The shallow orange cap has a flared brim, a gently leaning green stem and two separate cap leaves. Both brown ears remain fully outside the cap. Cream pads decorate the distal hand ends and foot soles, with four tiny toe beans per pad. A small rounded brown tail projects from the lower physical center back.
Skills and stitch methods
Most stuffed shapes use continuous spiral rounds without routine joining or turning. Oval and leaf pieces work around both sides of foundation chains, while a back-loop-only round defines the foot sole edge. Surface slip stitches form the pumpkin ribs; optional gentle shaping passes can deepen the body channels. The muzzle uses embroidery for a horizontal oval nose, short vertical mouth and shallow paired smile curves. Physical front and back guides are defined from the filled shape rather than the beginning-of-round marker.
Before beginning this crochet pumpkin bear pattern, identify which sections are flat and which are stuffed. Read each section heading before continuing, and check the stitch totals at the end of shaping rounds. Counting early is easier than finding a missing increase beneath several completed rounds.
Yarn, tools and filling
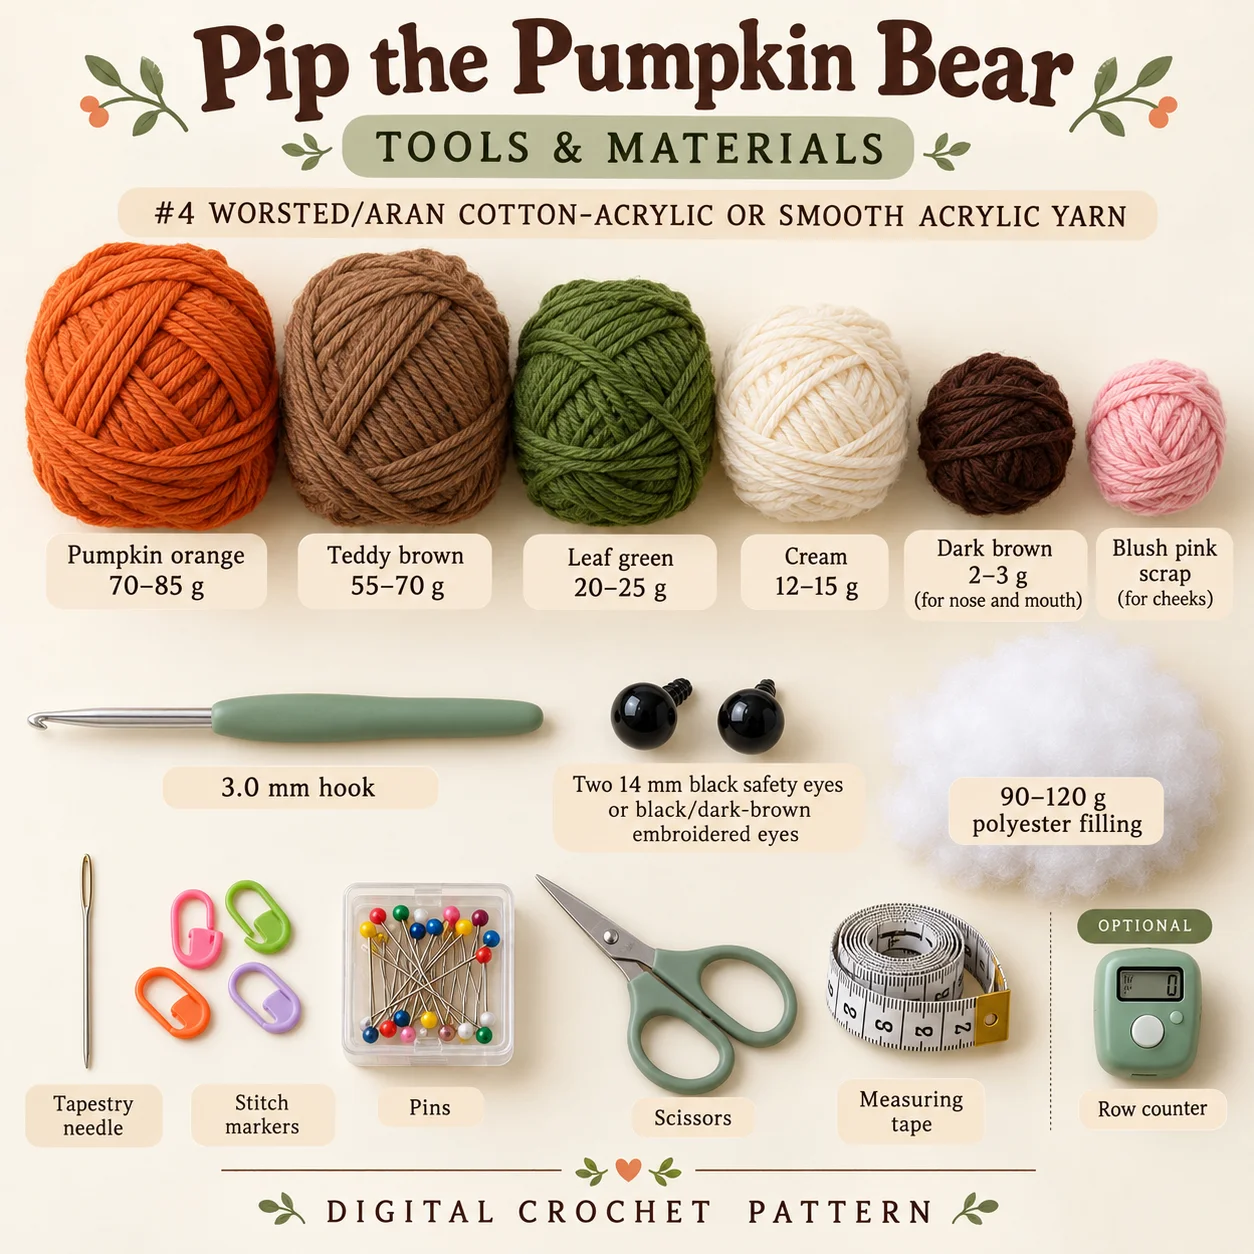
Use #4 worsted/aran cotton-acrylic or smooth acrylic yarn. The approximate supplies listed in the PDF are:
Pumpkin orange 70–85 g; teddy brown 55–70 g; leaf green 20–25 g; cream 12–15 g; dark brown 2–3 g for nose and mouth; blush pink scrap for cheeks. 3.0 mm hook; two 14 mm black safety eyes or black/dark-brown embroidered eyes; 90–120 g polyester filling; tapestry needle, stitch markers, pins, scissors and measuring tape. Optional row counter.
Quantities vary with substitutes. Use pins and separate placement markers during assembly.
Gauge and finished proportions
The target is approximately nineteen single crochet stitches and twenty spiral rounds over 10 cm with a 3.0 mm hook. Use category 4 cotton-acrylic or smooth acrylic yarn with firm, dense tension and clear stitch definition. The approximate dimensions including the stem is 24–27 cm, with a width across the arms of 17–19 cm. These are digital design ranges. Keep the lower pumpkin base broad, the neck edge softer and the orange lobes rounded without forcing filling through the stitches.
For this crochet pumpkin bear pattern, compare the fabric and proportions together. A swatch with visible gaps needs attention before stuffing, while a much denser substitute can change the size of every paired component. Recheck the main shapes before attaching the smaller details.
Construction and assembly order
Install the head eyes before access narrows, finish the filling and close the brown head completely. Prepare cream inner ear circles and lightly cup their brown outer layers. The muzzle remains horizontal; the detailed assembly sequence adds only a tiny pinch of filling as its edge seam closes. The orange body retains a thirty-stitch neck opening. Add all eight body ribs before attaching the limbs, keeping their surface loops relaxed so the pumpkin does not pucker.
Pin the open orange neck against the underside of the closed head and finish the upper-body filling before completing that seam. Add the cream pads and four toe stitches to each hand and foot. Attach the feet with their pads forward and slightly downward, while hand pads stay at the distal tips facing down. Add arms and tail, then the six-leaf collar. Finish the eight cap ribs, stem and two leaves, and fit the cap with hidden tacks above the eyes.
The crochet pumpkin bear pattern is easier to assemble when all paired pieces are laid out together. Keep the PDF open at its placement notes, pin before sewing and pause to compare front, side and back views. Small corrections at this stage prevent larger changes after the seams are secured.
Practical tips for neat details
- Work all eight body ribs before the limbs obstruct their routes.
- Keep the dark brown nose a small horizontal oval.
- Add four toe beans to every hand and foot pad.
- Leave both brown ears fully visible outside the pumpkin cap.
- Overlap collar leaf bases while keeping the six tips separate.
When working from the crochet pumpkin bear pattern, leave the recommended sewing tails and keep the attachment order visible beside your work. Avoid tightening a seam so strongly that it dents the stuffed shape. If a piece rotates while sewing, stop, re-pin it and check the reference markers before continuing.
Troubleshooting
Why does this project have puckered ribs?
The raised lines are surface slip stitches and should sit relaxed on the filled orange fabric. Undo the tight section and repeat it with looser loops rather than pulling the groove deeper. If stronger lobes are wanted, the PDF offers separate gentle shaping passes along the eight channels. Keep those passes mild enough to suggest a pumpkin shape without compressing the body into a hard form.
Why do the paw pads point in the wrong direction?
Rotate the open limb before securing its seam and pin at four quarter-points. The hand pads belong at the distal hand tips and face down, while the foot soles face forward and slightly downward. Compare the underside as well as the front view. Correct the limb’s attachment angle rather than moving the pad onto the forearm or upper foot.
Why does the pumpkin cap sit over the eyes?
Lift the front brim by one head round and refit the hidden tacks as directed in troubleshooting. Check that the side edges do not trap either ear. The front edge can sit a little lower than the sides while still keeping both eyes completely clear. Avoid tightening the entire brim against the head to hold its position.
Finishing and care
Inspect the surface ribs, collar leaf bases, cap anchors and small rear tail. Check the hand and foot pads from underneath before burying the final yarn ends. Remove every temporary marker and pin. Choose cleaning methods from the actual yarn and filling labels. The supplied PDF explicitly states that no physical prototype or test crochet was used. Its finished measurements and material amounts are approximate finished dimensions, so record the actual dimensions of your own version.
Before calling your crochet pumpkin bear pattern project complete, inspect the hidden joins as well as the visible face. Secure loose ends using the PDF’s finishing method and confirm that all small details are firmly attached. The design dimensions are estimates; record your own finished measurements if you plan another version with the same yarn.
Download the complete PDF pattern
This PDF contains the complete crochet pattern for Pip the Pumpkin Bear. Digital download only; no physical item will be shipped.
Related projects: Bruno the Bear, Milo the Mummy Mouse.
Browse the crochet pattern collection for more project overviews.
Leave a Reply