
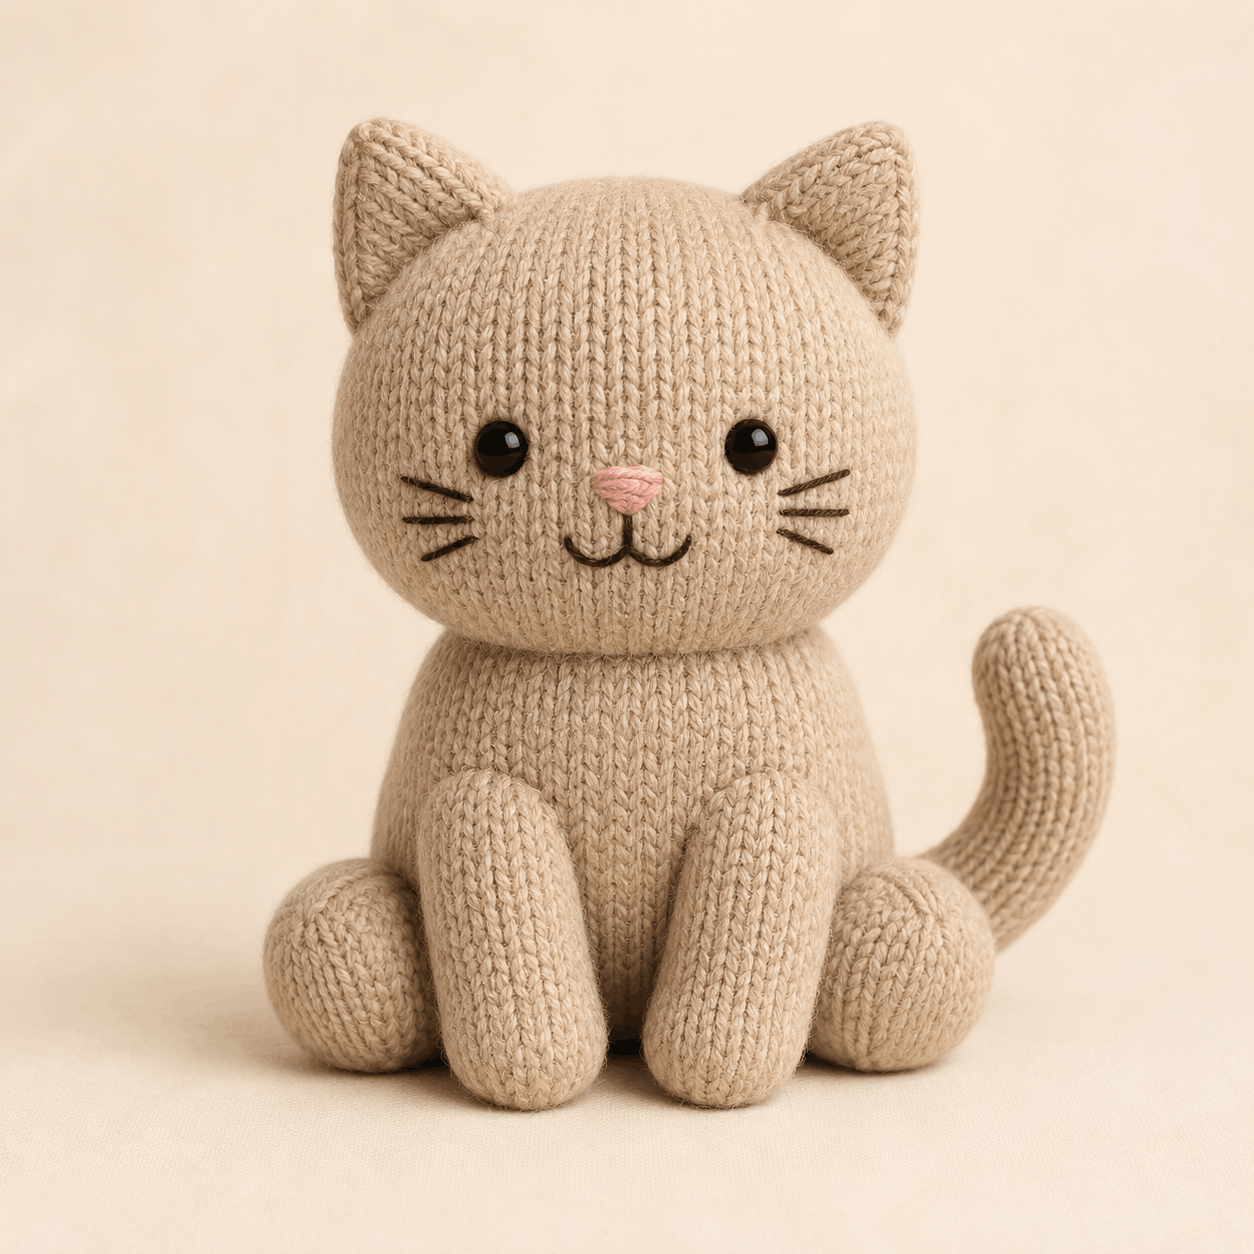
Biscuit is a softly stuffed seated cat with a rounded head, pear-shaped body, long front legs, rounded hind paws, pointed ears, and an upward-curving tail. This sitting cat knitting pattern combines in-the-round stockinette with flat-knit ear panels, making it suitable for a confident beginner to intermediate knitter who is comfortable with shaping and sewing. The face uses black eyes, a small pink nose, a shallow embroidered mouth, and three whiskers on each cheek. This overview covers the materials, techniques, construction, placement, and common trouble spots, while the complete instructions remain in the downloadable PDF near the bottom.
About This Sitting Cat Knitting Pattern
The project is a stuffed cat plushie designed to sit upright. Biscuit is shown in warm beige or light tan with a broad rounded head and a compact seated silhouette. The front legs hang down at the front, while the hind paws sit lower and farther to the sides to support the pose. The tail begins from the left-back area and is shaped into a compact upward curve after attachment.
The face is simple and balanced rather than heavily decorated. The pattern uses two 12 mm black safety eyes, with embroidered eyes offered as an alternative, plus a pink embroidered nose and dark mouth and whisker details. Each ear is made from two triangular panels, lightly padded and seamed into shape.
Skill Level, Making Time and Finished Size
Craft: Knitting
Project type: Stuffed cat plushie
Skill level: Confident beginner to intermediate
Construction: Mainly knitted in the round; ears worked flat and seamed
Terminology: Standard knitting abbreviations with RS and WS instructions
Finished seated height including ears: approximately 27–29 cm / 10.5–11.5 in
Overall width with tail posed: approximately 18.5–20 cm / 7.25–7.9 in
Making time: Not specified in the PDF.
The most careful stages are facial placement, keeping the ears symmetrical, positioning the front legs evenly, and shaping the tail. The sitting cat knitting pattern uses counted stitch columns and retained beginning-of-round references to make those steps more precise.
Materials and Tools You Will Need
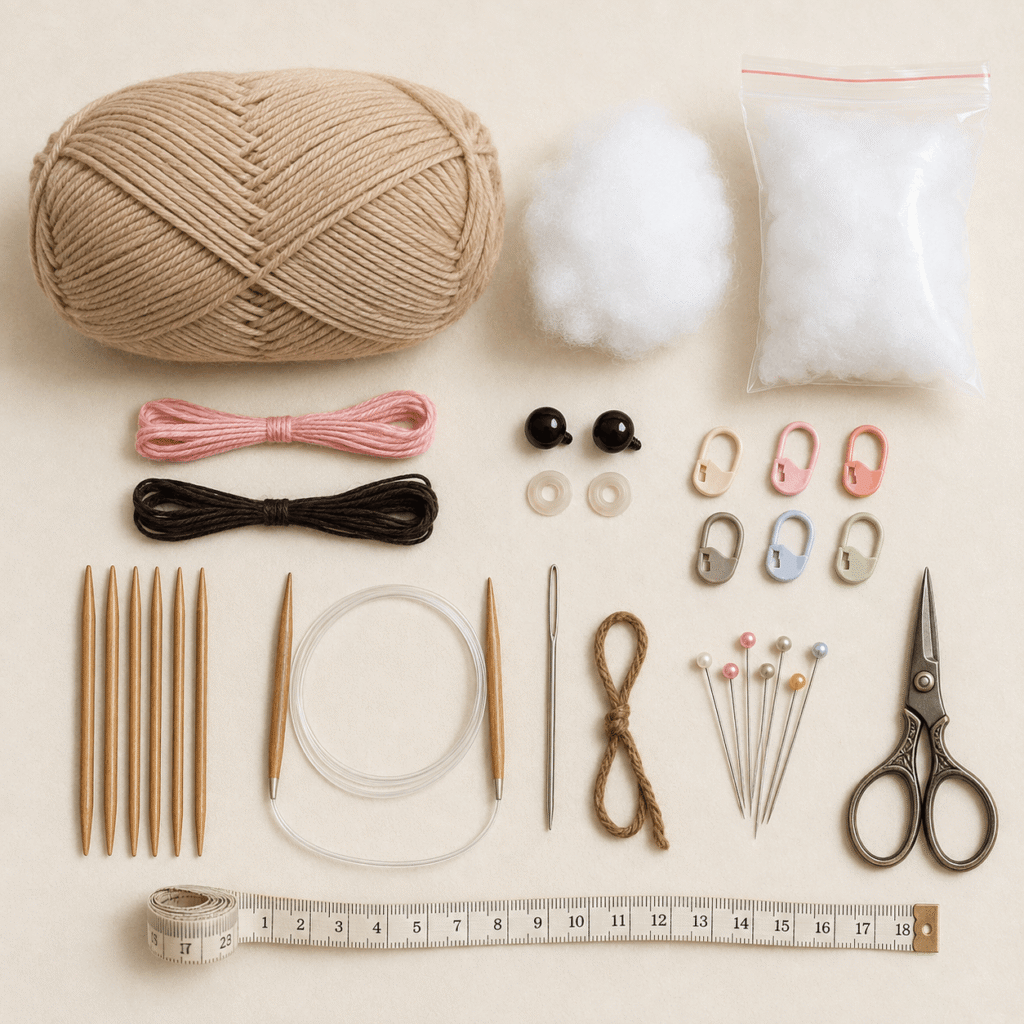
The main material is smooth DK / 8-ply yarn, approximately 150 g or 330–380 m, in warm beige or light tan. The pattern uses 3.25 mm needles suitable for small-circumference knitting in the round, either double-pointed needles or a long circular needle for magic loop. The same needles can be used for the flat ear panels.
You will also need about 120–160 g of polyester fibre fill, two 12 mm safety eyes or black yarn for embroidered eyes, pink yarn or floss for the nose, dark thread or yarn for the mouth and whiskers, stitch markers, a removable marker or contrast yarn, tapestry needle, pins, scissors, and measuring tape.
Stitches and Techniques Used
The project uses casting on, knit and purl stitches, kfb increases, k2tog and ssk decreases, p2tog on the ear panels, binding off, knitting in the round, flat stockinette, stuffing, and sewing separate pieces together. Gauge is 22 stitches by 30 rounds or rows over 10 cm / 4 in in stockinette with 3.25 mm needles.
The shaping is straightforward once the stitch counts are established, but accuracy matters because the head and body reach broad sections of 84 and 72 stitches. The sewing notes also recommend catching complete knitted stitches rather than splitting strands of yarn.
How Biscuit Is Constructed
The head is knitted first in the round. The eyes and embroidered facial details are completed while the opening is still accessible, then the head is stuffed and closed. Four flat ear panels are knitted separately and paired into two lightly padded ears before being attached to the head.
The body is knitted, stuffed, and closed separately. Two front legs, two hind paws, and the tail are also made as individual pieces. The front-leg tops are flattened and sewn closed; the hind paws are fully closed; and the tail stays open at its cast-on edge for attachment. After the lower pieces are secured, the tail is curved with a hidden shaping strand and the head is sewn to the body. This sitting cat knitting pattern therefore combines simple knitted forms with careful final placement.
Helpful Tips for Making This Project
Keep the beginning-of-round reference visible on both the body and tail after those pieces are closed. The pattern specifically asks for a removable marker or contrast strand because that line is needed later for attachment and tail shaping.
Add stuffing in small amounts. The lower body should be firm but pressed flatter at the base so Biscuit can sit steadily, while the tail and upper part of each front leg remain softer. Overstuffing the tail can make the curve harder to shape.
Pin paired features before sewing. Compare the ears, front legs, and hind paws from the front, side, and top. The sitting cat knitting pattern provides counted columns and approximate round ranges for placement, so use those references instead of relying only on visual judgement.
Troubleshooting Common Problems
Why Does My Sitting Cat Knitting Pattern Project Rock Instead of Sitting Flat?
Redistribute some stuffing away from the centre of the base and gently flatten the lower body. The hind paws should share the support rather than lifting the body. Check that both front legs reach the surface evenly and that the tail is not pulling the body sideways.
Why Do the Eyes, Ears or Legs Look Uneven?
Recheck the centre-front line and the counted placement references before sewing permanently. The eyes are mirrored around centre front, the ears use matching diagonal base positions, and the front legs are centred on corresponding body columns. Even a small difference can be visible once the plushie is assembled.
Why Is Stuffing Showing Between the Stitches?
The fabric should be firm and dense. Visible fibre fill can mean the tension is too loose, the needles are too large for the yarn, or the piece is overstuffed. The PDF advises moving down a needle size when the fabric is loose while still keeping it comfortable to knit.
Care Instructions for the Finished Project
The PDF does not provide a washing method, so follow the care instructions for the yarn you choose. Spot cleaning is the most cautious option for a stuffed piece with embroidery and optional safety eyes. Avoid twisting or wringing, reshape gently if damp, and air-dry completely away from direct heat.
The pattern notes that safety eyes and other small or rigid components may not be suitable for children under three years old. Embroidered eyes are the alternative suggested in the PDF.
Leave a Reply