
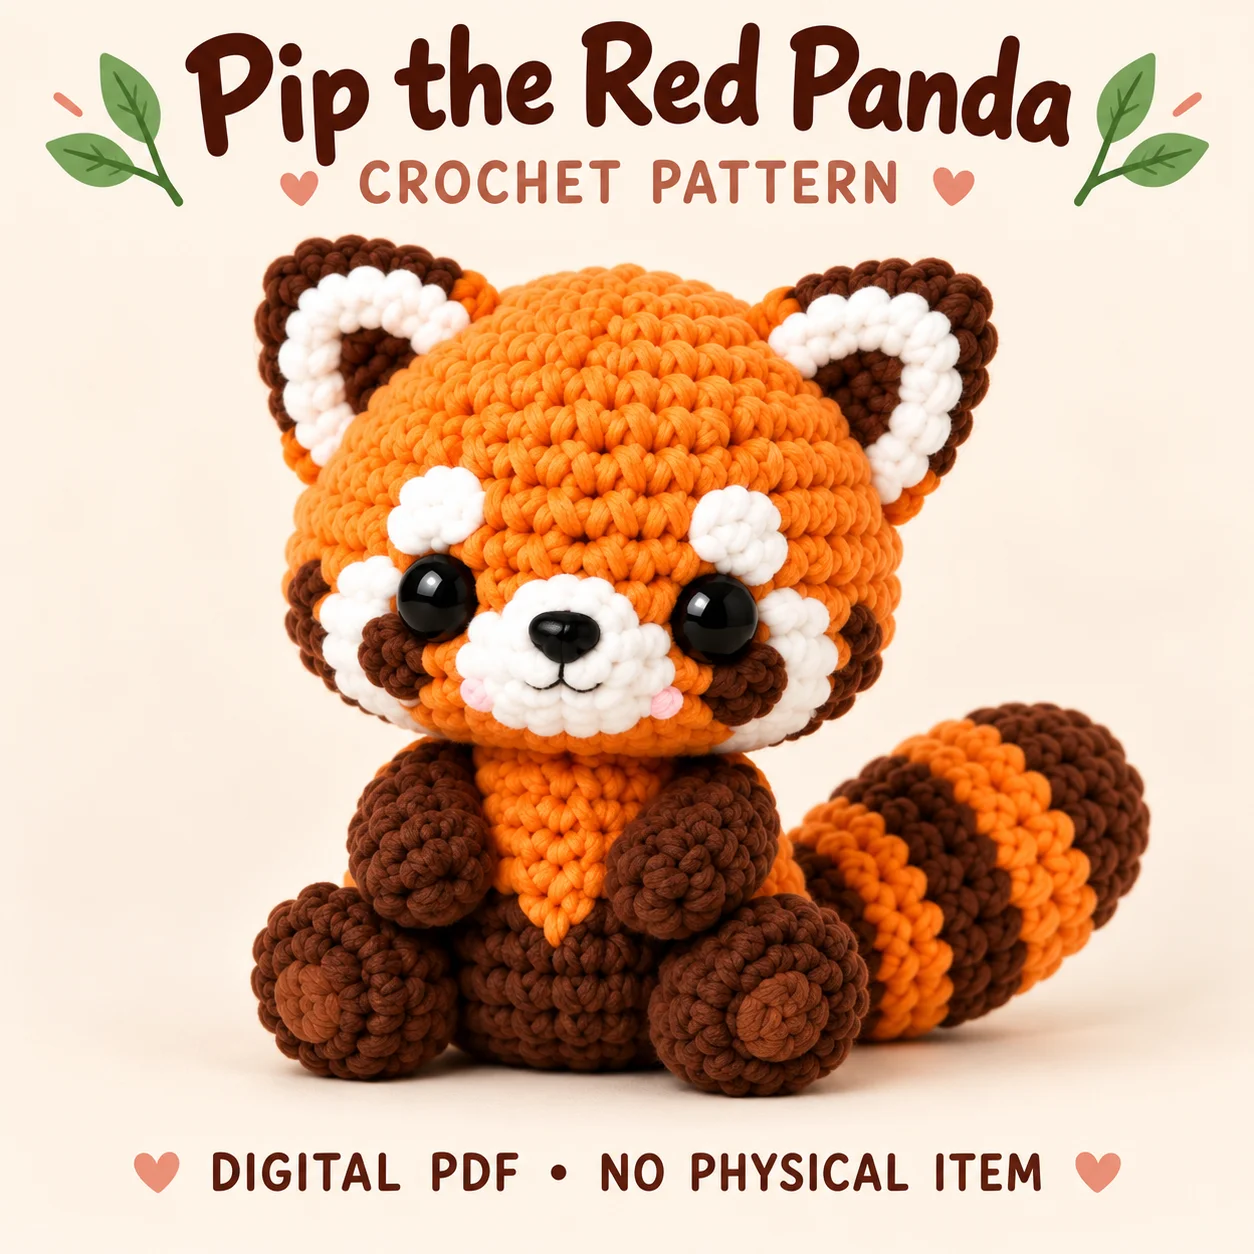
Pip combines an orange head, a dark brown seated body and a sweeping striped tail in a compact woodland character. This red panda crochet pattern adds personality through layered eye patches, white cheek pieces and a softly padded muzzle. The supplied PDF suits confident beginners and intermediate crocheters who can track spiral rounds and take time over assembly. Although the main shapes are straightforward, the facial layers need careful placement before the eyes are fixed. The tail also deserves attention because its filling affects the curve. Reading the face and finishing instructions first makes it easier to keep the markings balanced and the orange chest detail visible throughout the final assembly.
Features of this red panda crochet pattern
The face has dark brown oval eye patches, small white brow spots and white cheek sweeps. A single lightly padded white muzzle carries a black triangular nose and small embroidered smile. Pink blush is embroidered in short satin stitches rather than added as crocheted circles. The ears combine three flat triangular layers. Orange upper-body coloring and a tapered orange chest patch extend into the dark lower torso; the chest is not a white bib.
Flat, lightly padded and firmly stuffed pieces serve different purposes. Preserve those distinctions for a recognizable silhouette.
Skills and stitch methods
The main stuffed pieces use continuous spiral rounds. Oval face pieces are worked around both sides of a starting chain without turning. The ear layers and chest patch use turned rows, while the small brow spots use a joined round. Familiarity with single crochet, increases, invisible decreases, color changes and attaching appliques is useful. Take care when distinguishing the dark brown markings from the smoother black thread used for embroidery.
Before beginning this red panda crochet pattern, identify which sections are flat and which are stuffed. Read each section heading before continuing, and check the stitch totals at the end of shaping rounds. Counting early is easier than finding a missing increase beneath several layers of plush stitches.
Yarn, tools and filling
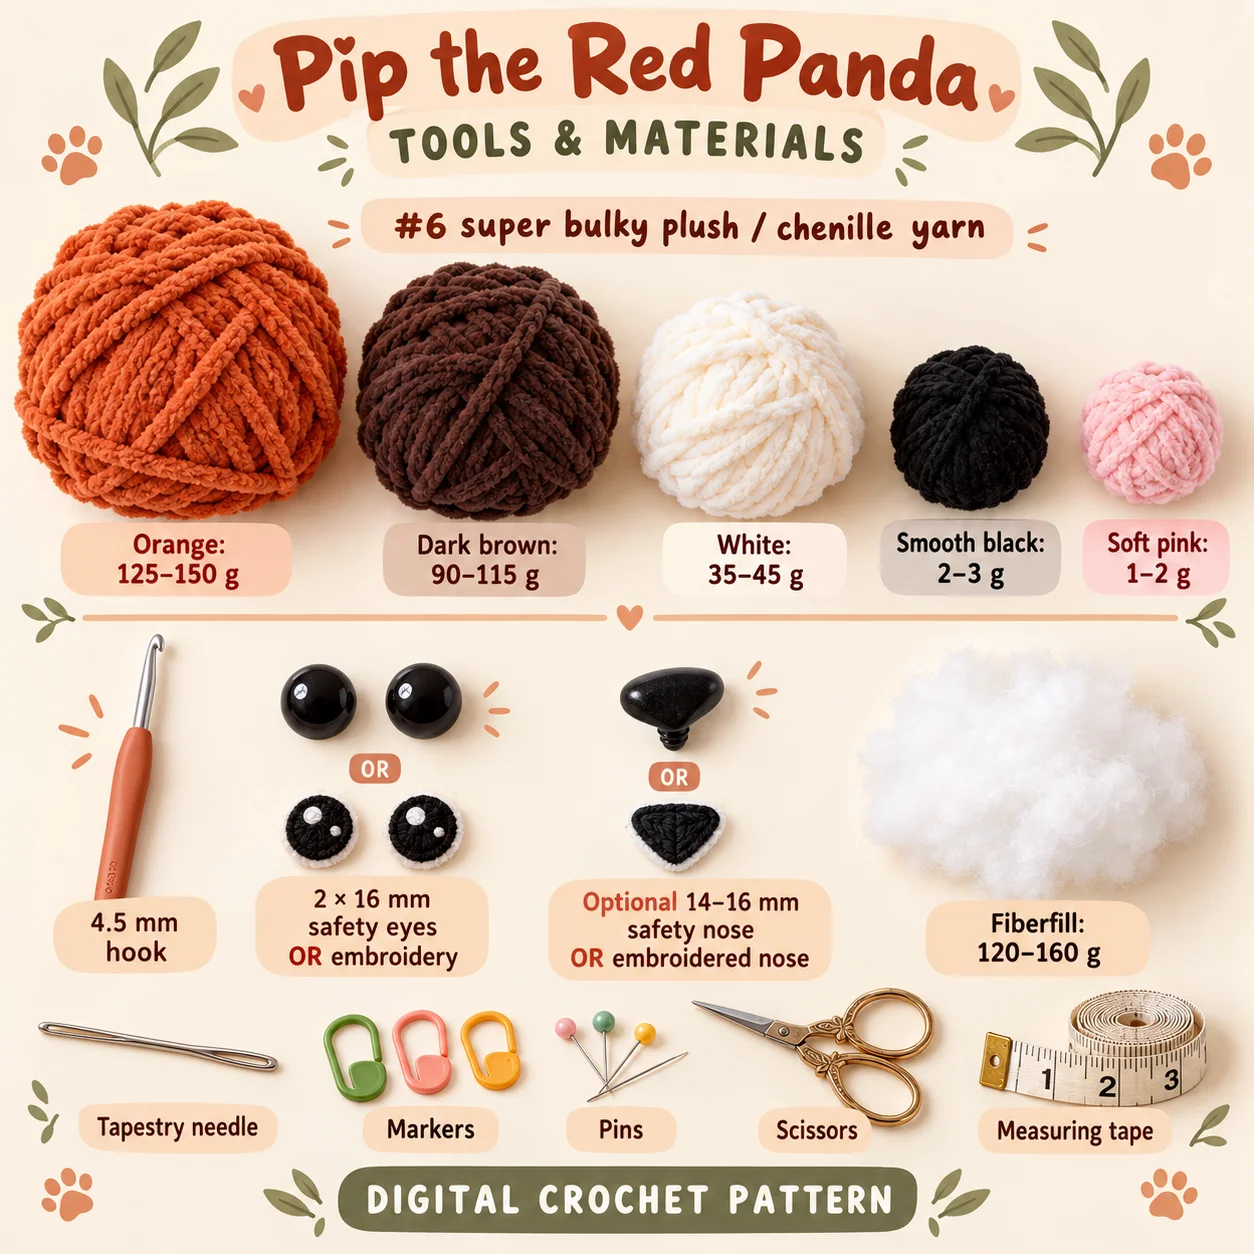
Use #6 super bulky plush / chenille yarn. The approximate supplies listed in the PDF are:
Orange: 125–150 g; Dark brown: 90–115 g; White: 35–45 g; Smooth black: 2–3 g; Soft pink: 1–2 g. 4.5 mm hook; 2 × 16 mm safety eyes OR embroidery; Optional 14–16 mm safety nose OR embroidered nose; Fiberfill: 120–160 g; Tapestry needle, markers, pins, scissors, measuring tape.
Quantities are approximate and change with substitute yarns. Keep embroidery supplies separate from plush colors. Use pins for placement and locking markers for face and back references.
Gauge and finished proportions
The PDF gives a flat gauge of 11 single crochet stitches and 11 rows over 10 cm before filling. Do not treat that measurement as a round swatch. The seated design target is 19–22 cm tall, with a tail approximately 15–18 cm long. The head is intended to be wider than the compact body. These measurements are approximate finished-size guidelines and will vary with yarn, tension and the amount of stuffing.
For this red panda crochet pattern, compare the fabric and proportions together. A swatch with visible gaps needs attention before stuffing, while a much denser substitute can change the size of every paired component. Recheck the main shapes before attaching the smaller details.
Construction and assembly order
The head and body both finish with open 24-stitch neck edges, allowing a matched stitch-for-stitch join. Facial preparation happens while the head remains accessible. Sew the dark eye patches first, then install hardware eyes through both the patches and head fabric. This sequence prevents the patches from shifting independently after the washers are fixed. Add the white muzzle, cheek sweeps, brow spots and embroidery with the face center clearly marked.
The tail has exactly five color bands from tip to base: dark brown, orange, dark brown, orange and dark brown. Keep the beginning-of-round area on the underside so small color-change jogs are less noticeable. Use softer filling through the middle to retain a gentle sweep. Assemble the flat ears and add the chest patch before the neck join, then position the dark legs and arms. Attach the tail behind Pip’s left side, using the PDF’s discreet tacks if needed.
The red panda crochet pattern is easier to assemble when all paired pieces are laid out together. Keep the PDF open at its placement notes, pin before sewing and pause to compare front, side and back views. Small corrections at this stage prevent larger changes after the seams are secured.
Practical tips for neat details
- Pin both eye patches before fixing either eye washer.
- Keep the pink blush embroidered; it should not become a separate bulky cheek disc.
- Leave the ear layers flat and unfilled to preserve their triangular outlines.
- Compare the tail bands against the five-band sequence before closing access.
- Keep the chest patch centered and visible between the dark arms.
When working from the red panda crochet pattern, leave the recommended sewing tails and keep the attachment order visible beside your work. Avoid tightening a seam so strongly that it dents the stuffed shape. If a piece rotates while sewing, stop, re-pin it and check the reference markers before continuing.
Troubleshooting
Why does my red panda crochet pattern project have uneven eye patches?
Find the saved face center and compare the patch edges before judging the eyes alone. Hardware goes through both layers, so placement must be checked before the washers are locked. If the patches differ in angle, reposition their seams while access remains. Do not attempt to correct the expression by tugging one finished eye against its washer.
Why does the striped tail look stiff?
Too much filling through the center can turn the intended curve into a rigid tube. Keep the base supported but let the middle remain softer. Arrange the tail into its planned sweep before final attachment. Hidden tacks can hold that shape without inserting wire or creating an unsupported structural change.
Why are the color changes noticeable?
Spiral rounds naturally place transitions at slightly different heights. Keep the transition line underneath the tail as directed. Confirm the stripe lengths and use the PDF’s change method consistently. Adding an extra orange band to disguise a jog changes the design rather than correcting the placement.
Finishing and care
Inspect the muzzle seam, layered ears and tail tacks after assembly. Check that the chest patch has not been pulled sideways by an arm attachment. Care depends on the labels for your chosen plush yarn, embroidery thread and filling. Support the entire toy when lifting it, especially while evaluating the tail curve, and avoid applying heat without label approval.
Before calling your red panda crochet pattern project complete, inspect the hidden joins as well as the visible face. Secure loose ends using the PDF’s finishing method and confirm that all small details are firmly attached. The design dimensions are estimates; record your own finished measurements if you plan another version with the same yarn.
Download the complete PDF pattern
This PDF contains the complete crochet pattern for Pip the Red Panda. Digital download only; no physical item will be shipped.
Related projects: Maple the Fox, Hazel the Hedgehog, Mochi the Koala.
Browse the crochet pattern collection for more project overviews.
Leave a Reply