
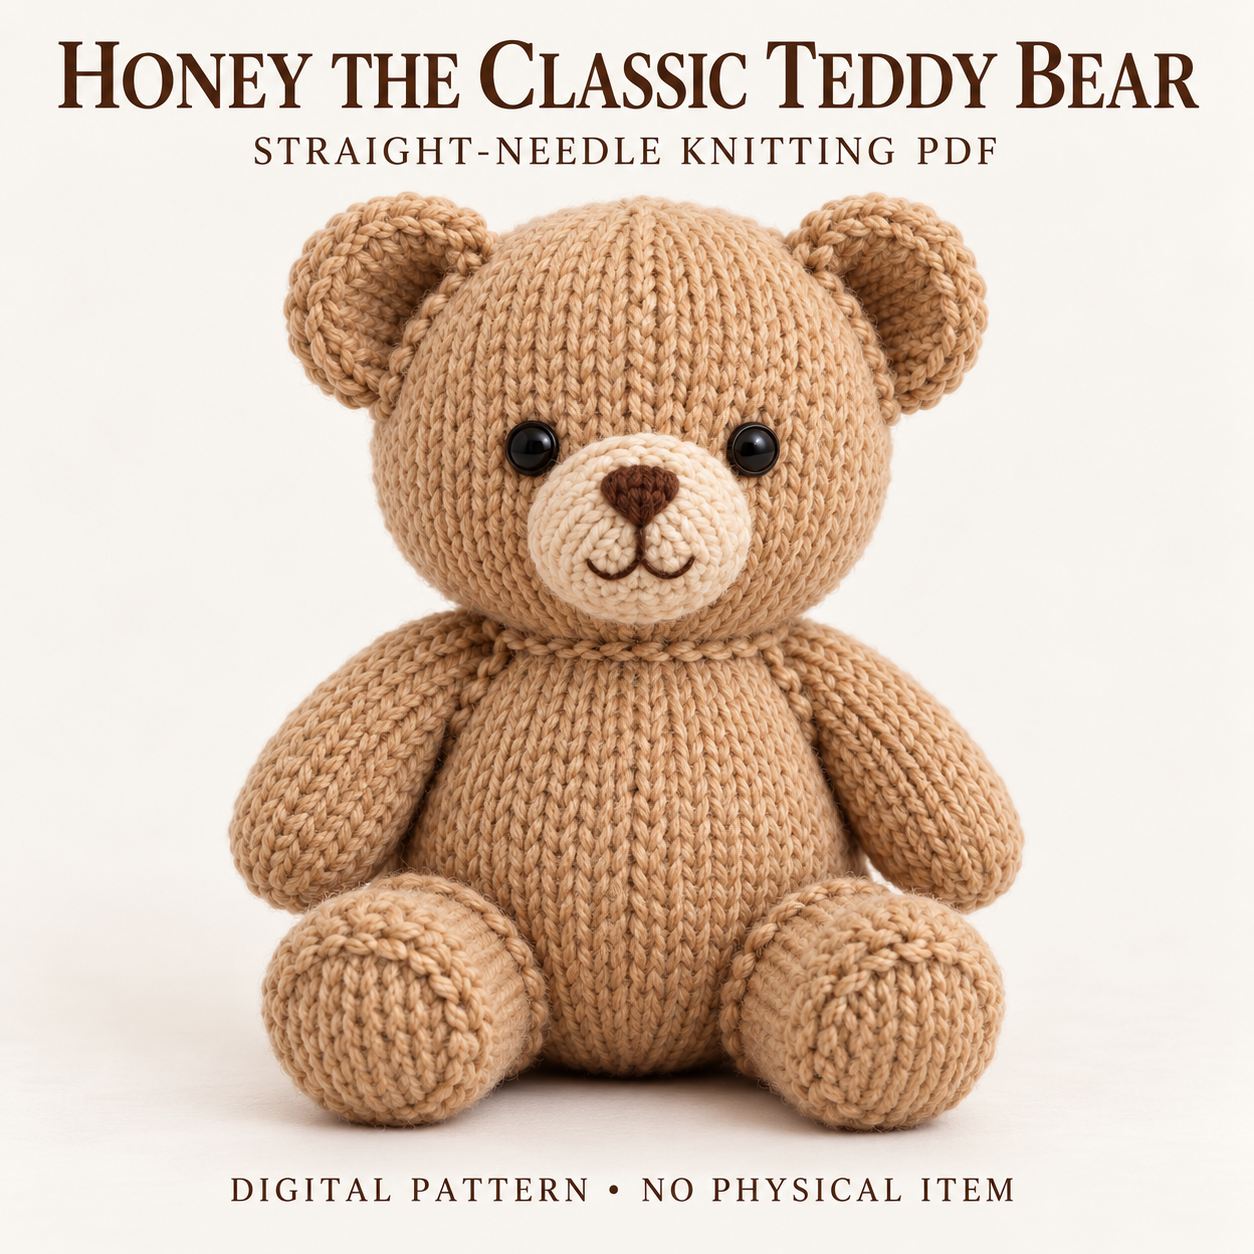
Honey’s classic teddy bear knitting pattern makes a seated tan bear with a rounded head, small cupped ears, and a cream oval muzzle. A dark brown embroidered nose and mouth provide the facial contrast, while the forward-facing feet establish the familiar seated silhouette. Every piece is knitted flat on straight needles and shaped through increases, decreases, seams, and stuffing. The simple colour palette puts the emphasis on placement: level eyes, a centred muzzle, and matching limb angles make a noticeable difference. This guide introduces the materials and construction in the PDF, along with practical finishing advice. Download the complete instructions near the bottom for the written rows and detailed assembly maps.
Details in the classic teddy bear knitting pattern
Honey has tapered arms, oval feet, and a small tail at the back. The paws stay tan, without separate contrasting pads, and the design has no scarf or bow. The cream muzzle is a single garter-stitch oval with a thin layer of padding.
Each ear consists of two matching tan panels joined around the edge. Minimal filling, or none when the fabric is already thick, keeps the ear lightly cupped. This double-layer construction gives a neat outline without making the ears look like small round pillows.
Skills, dense gauge, and finished measurements
The techniques include flat stockinette, garter stitch, directional increases and decreases, mattress stitch, gathering, and embroidery. The PDF does not state a formal skill label. Familiarity with shaping and sewing stuffed pieces is more useful here than experience with circular knitting.
The classic teddy bear knitting pattern specifies 16 stitches and 22 rows per 10 cm on 4.5 mm needles, measured on a firm, unblocked stockinette swatch. approximate dimensions are about 29–31 cm seated height, 23–25 cm width across the feet, and 17–19 cm front-to-back depth. Gauge, seam depth, and stuffing affect those proportions. The planned feet are approximately 11–12 cm long, contributing to the forward-projecting seated pose.
Yarn and tools for Honey
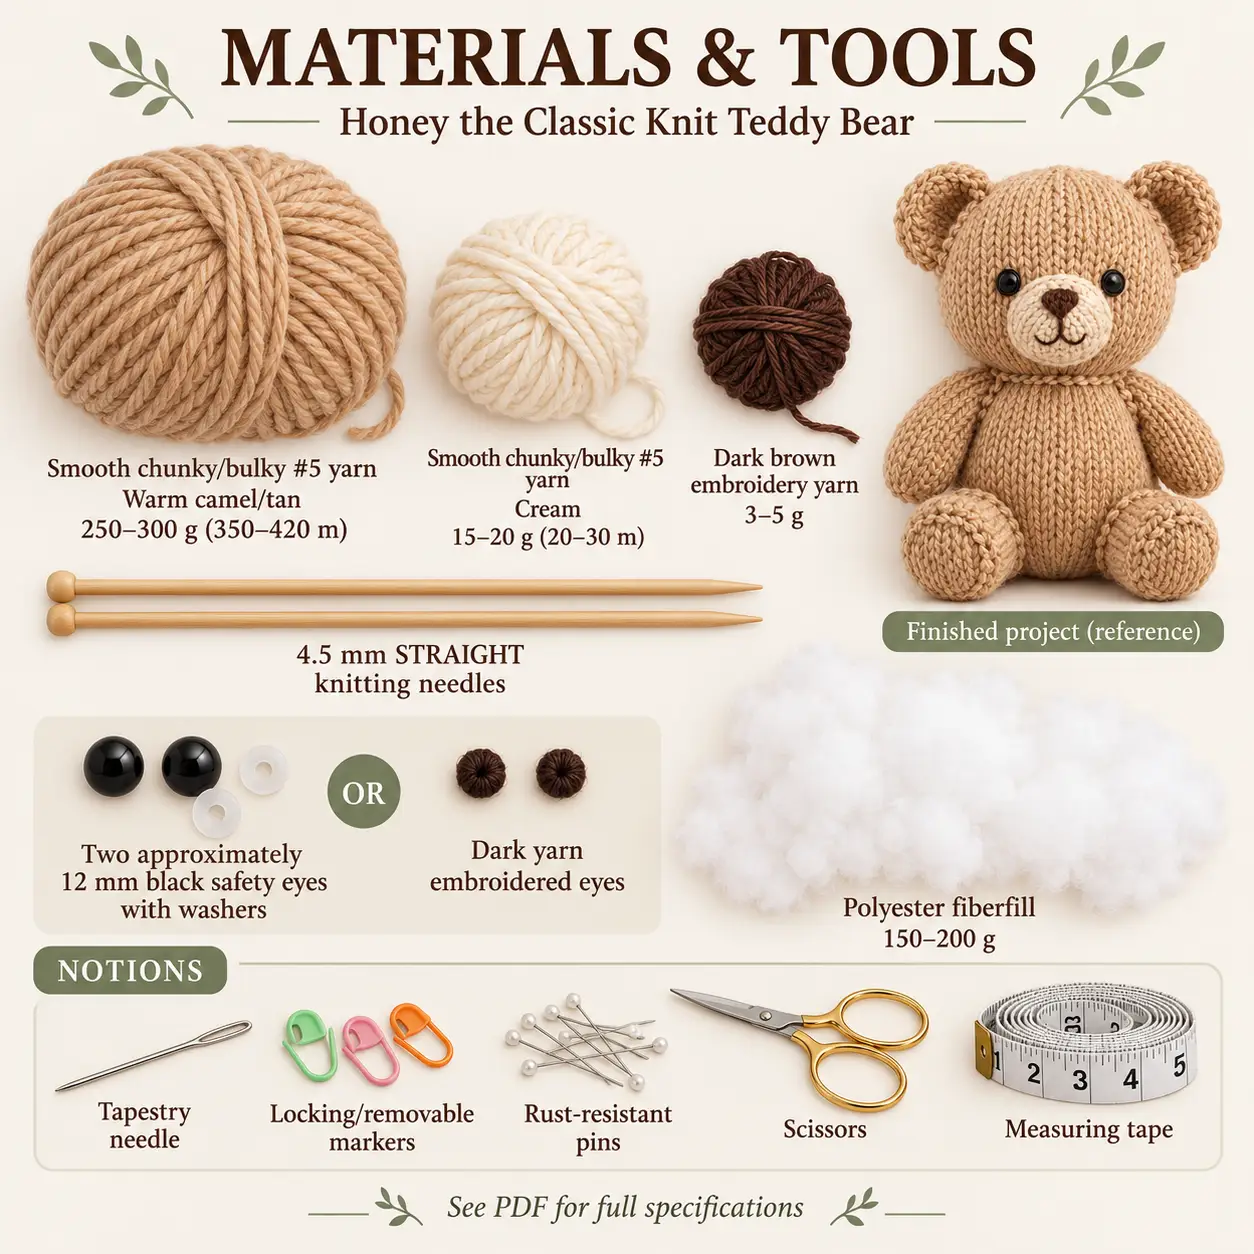
Use smooth chunky or bulky yarn in warm camel or tan, approximately 250–300 g, with the PDF listing about 350–420 m. The cream accent requires approximately 15–20 g, or 20–30 m, and the dark brown nose and mouth use about 3–5 g of yarn or embroidery yarn.
Prepare 4.5 mm straight needles, adjusted if needed to obtain the dense gauge, and approximately 150–200 g of polyester fiberfill. Eye choices are two approximately 12 mm black eyes with compatible washers or dark yarn for embroidered eyes.
For the classic teddy bear knitting pattern, keep a tapestry needle, locking or removable markers, rust-resistant pins, scissors, and measuring tape nearby. Pins are especially useful because the assembly directions ask you to assess the sitting position before securing the legs.
Flat-knitting and seaming techniques
The head and body are single shaped pieces whose side edges join at the centre back. Rounded ends are gathered, and open neck edges remain available for stuffing and attachment. Arms, feet, and tail also become rounded forms after seaming.
Every stated count in the classic teddy bear knitting pattern already includes the two edge stitches used for sewing. Do not add extra seam stitches. Unless a row says otherwise, knit those first and last stitches normally.
The paired arms and feet use identical knitting; their mirrored appearance comes from attachment. Directional increases and decreases shape the flat pieces, while the muzzle’s garter fabric offers a different texture from the surrounding stockinette face.
Assembly from head and body to facial details
Install fitted eyes while the head is still flat, checking their position from the right side before locking the washers. Seam and fill the head through its neck opening. Prepare the body in the same way, keeping its neck accessible until the two pieces are aligned.
Join the matching neck edges with centre front aligned to centre front and both back seams aligned. Add the paired ears, then the stuffed arms and forward-facing feet. Pin those major parts before completing their sewing.
Attach most of the muzzle perimeter before adding its thin filling layer. Finish the edge and embroider the nose and mirrored mouth curves. Add the small tail over the back seam, then check the face and seated posture before removing the guides.
Stuffing choices that support the seated pose
Fill the cheeks and crown evenly, keeping excess pressure away from the eye washers. The lower belly needs firmer filling than the neck area. In the arms, use moderate filling and leave the shoulder section lighter so it can lie naturally against the body.
The classic teddy bear knitting pattern gives the feet firmer toes and lower sections, moderate centres, and lightly filled hip ends. That distribution helps the feet project forward without forcing the body excessively wide. Keep the tail softly rounded so it does not push the seated bear forward.
Before permanent leg attachment, set the body upright on a flat surface. Both toes should meet the same plane and project forward evenly. Re-pin while adjustment is still straightforward.
Troubleshooting facial balance and sitting
Why does this project tip forward?
Check the hip-end filling, foot angle, and leg attachment positions. The PDF suggests reducing filling at the hips, bringing the feet slightly farther forward, and re-pinning the leg attachments lower on the body. Keep the tail small and lightly filled while assessing the pose.
Why is the cream muzzle off-centre?
Use the centre-front line as the anchor rather than judging from the outer head edge alone. Unpick only the affected part of the muzzle seam, re-pin the oval beneath the eyes, and sew it again. Recheck the nose position against the muzzle’s own centre.
Why does a head or body seam twist?
Uneven row matching can rotate the joined form. Undo the affected seam section and consistently pair corresponding row edges. Correct the alignment before relying on stuffing to hide the twist, since the back seam also guides later placement.
Care and eye-finishing considerations
After completing the classic teddy bear knitting pattern, follow your yarn’s care label and handle the stitched muzzle and ears gently when cleaning. Surface cleaning can limit unnecessary soaking of a stuffed form. Avoid wringing the limbs or pulling the facial embroidery, and let the bear dry thoroughly away from direct heat.
The PDF notes that detachable eye components are unsuitable for children under three. It provides an embroidered-eye option for situations where those components are inappropriate, with applicable local requirements still governing the finished item. Check attachments periodically and repair loose sewing before further use. Do not force or cut a locked eye washer to adjust the face.
Download Honey’s complete pattern PDF
The classic teddy bear knitting pattern PDF contains the written rows for each piece, face and body placement maps, stuffing guidance, and assembly instructions. Use the complete file for the exact counts and sewing references.
DIGITAL DOWNLOAD ONLY — NO PHYSICAL ITEM WILL BE SHIPPED.
Leave a Reply