
This snowflake cardigan knitting pattern creates a powder-blue winter cardigan with ivory snowflakes and five buttons. Separate flat fronts, back and sleeves create a drop-shoulder shape. Two picked-up garter bands form the opening, and the neckline is knitted flat. Counted duplicate stitch supplies the snowflake decoration after the blue fabric has been made. The PDF brings together the materials list, gauge guidance, construction instructions and finishing checks, so you can plan the project before casting on. Use the written counts and diagrams together, and keep the selected size or row schedule visible while working. This article explains the design and preparation; the downloadable document supplies the complete instructions. The pattern includes measurements and yarn guidance; your finished fit will depend on gauge and finishing.
DIGITAL DOWNLOAD ONLY — NO PHYSICAL ITEM WILL BE SHIPPED.
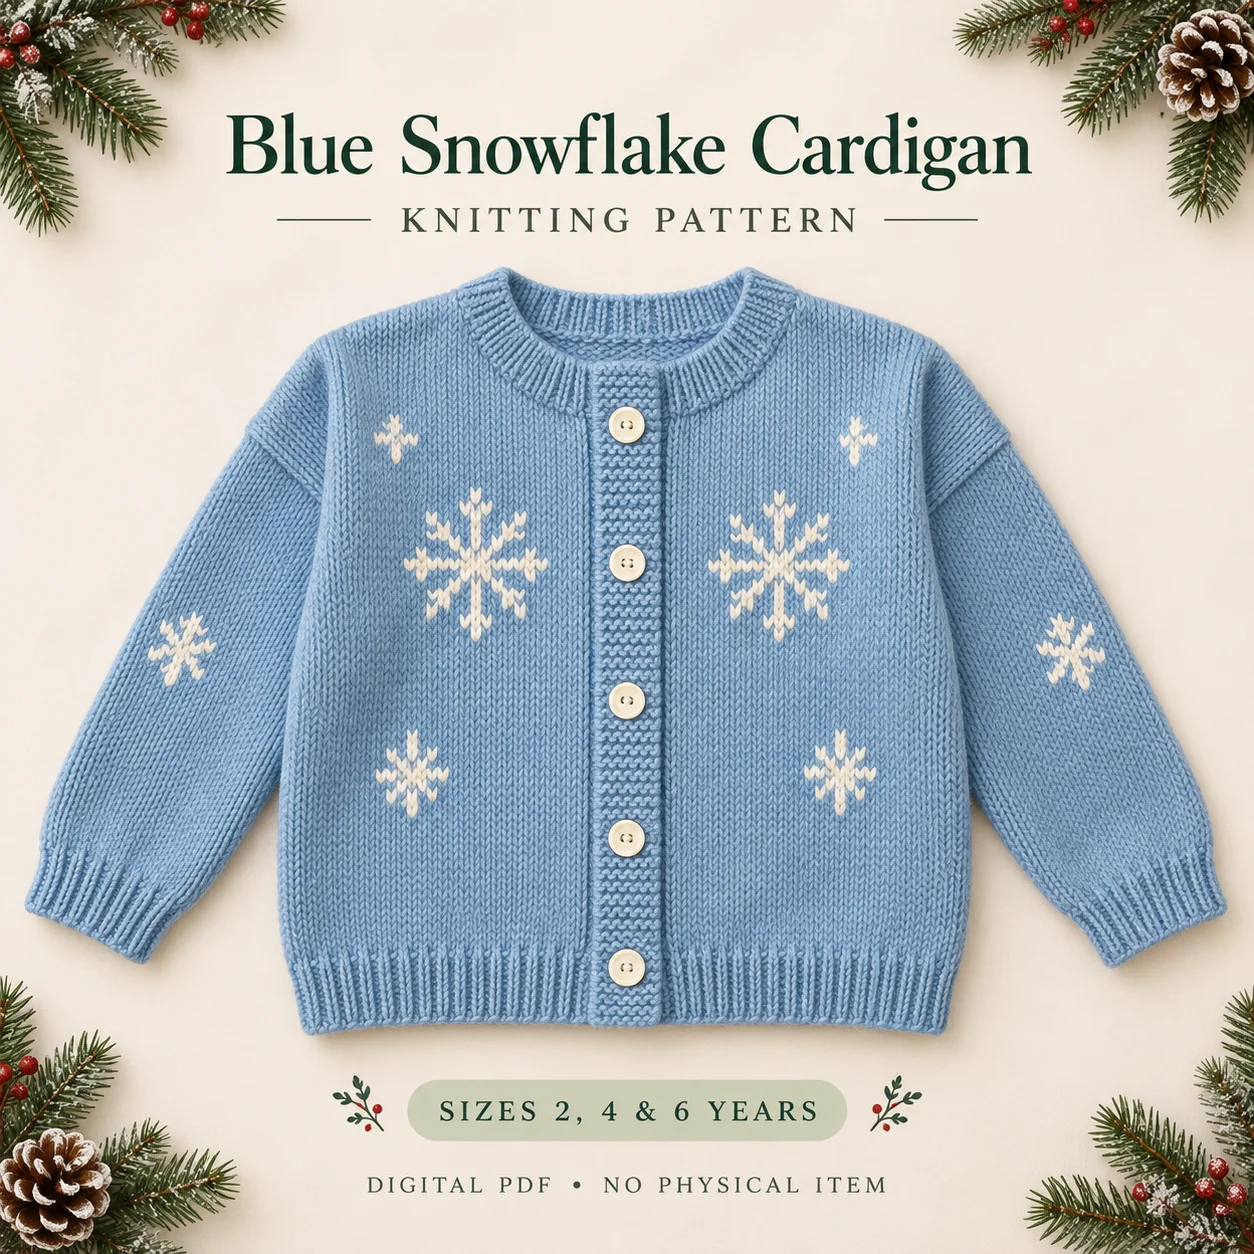
Design features of the snowflake cardigan knitting pattern
Three different charts provide a branching main snowflake, a smaller faceted crystal and a tiny flurry. Each front carries three motifs in mirrored positions, with clear space beside the button opening. Each sleeve has one small crystal. The back has its own counted layout. All motifs are worked over existing knit stitches; the garter bands remain blue and undecorated. Five washable buttons complete the front closure.
The preview is an illustrative rendering of the intended project. For exact color locations, stitch counts and relative placement, use the PDF’s counted instructions. A decorative image cannot establish gauge or confirm the behavior of a particular yarn.
Skill level and techniques to prepare
The PDF rates this project Intermediate. Useful techniques include flat knitting, one-by-one ribbing, mirrored front-neck shaping, sleeve increases, three-needle shoulder joins, picking up garter bands, yarn-over buttonholes, seaming and duplicate stitch. Read through the finishing sequence before beginning, especially where a later step depends on held stitches or a marked fabric edge.
Practice an unfamiliar technique on spare yarn first. When preparing the snowflake cardigan knitting pattern, separate learning a technique from checking the project counts, so an uncertain method does not obscure which row or stitch group you are working.
Yarn colors and tools
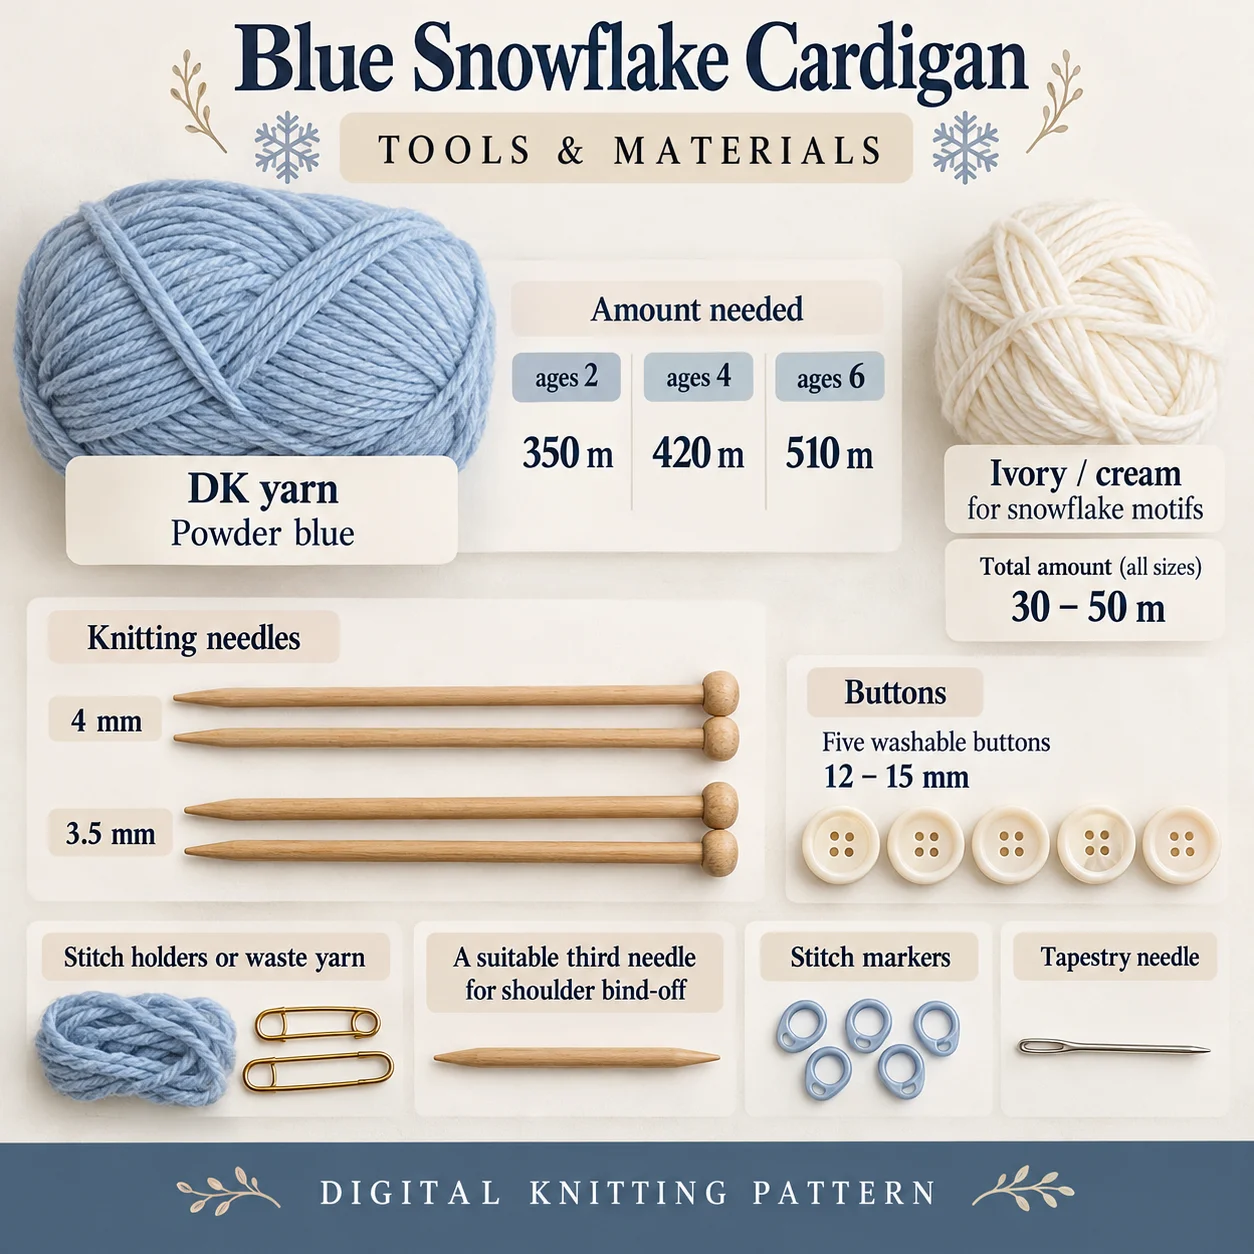
Powder blue 350 / 420 / 510 m for ages 2 / 4 / 6; ivory/cream 30–50 m for motifs.
Equipment: 4 mm and 3.5 mm knitting needles; five washable 12–15 mm buttons; stitch holders or waste yarn, a suitable third needle for shoulder bind-off, stitch markers and tapestry needle.
These allowances should guide preparation, not be presented as measured consumption. Keep each accent color labelled and compare the fiber-care requirements before combining yarns. The tools and materials image accompanies the snowflake cardigan knitting pattern as a quick reference, while the PDF remains the detailed supply source.
Gauge, sizing and finished measurements
The target is 22 stitches and 30 rows per 10 cm in blocked stockinette on 4 mm needles. The garter bands have a separate target of 34 rows per 10 cm on 3.5 mm needles. The relaxed blocked neck rib target is 22 stitches per 10 cm on 3.5 mm needles.
The age labels are 2, 4 and 6 years. Estimated buttoned chest measurements are 61.1, 64.8 and 68.4 cm, with body lengths of 36, 40 and 44 cm. These chest calculations include the specified band overlap and seam take-up. They are not simply twice the back-panel width and should be checked against the intended wearer.
Wash or block a swatch as permitted by the yarn label, dry it flat and measure a central ten-centimeter area. Use the actual blocked gauge when assessing dimensions. Too many stitches per ten centimeters generally requires larger needles; too few requires smaller needles. Re-swatch after changing needles. Check your blocked gauge before choosing a size; blocking should not be used to disguise a significant gauge mismatch.
Construction and finishing sequence
Cast on 66, 70 or 74 stitches for the back and 34, 36 or 38 for each front. Blue ribbing leads into stockinette. Follow the mirrored neckline instructions rather than repeating the same edge shaping on both fronts. After joining shoulders, pick up 72, 81 or 90 stitches for each front band and work seven garter rows. Five buttonholes belong on one band; buttons go on the opposite band. The neckband is worked flat over 92, 96 or 100 stitches, including the band tops. Attach sleeves, close seams and complete the button closure.
Keep a row record as you work and pause at the stitch-count checkpoints. Read the selected instruction line independently instead of mixing values from different sizes. For the snowflake cardigan knitting pattern, the written construction sequence provides the reliable order of operations; use its counts rather than reconstructing the garment from the promotional image.
Counted decoration and practical tips
The front layout is measured from each side seam toward the opening, so its coordinates are mirrored. Main snowflakes start at garment row 54, 60 or 66; small front crystals start at row 30, 34 or 38; tiny flurries start at row 77, 85 or 93. The sleeve motif stays on the same physical stitch columns even when increases change its needle-column numbers. Use the supplied chart and placement notes for this mapping instead of shifting the crystal after an increase.
Useful checks while working:
- Check stockinette and garter gauges separately.
- Measure button positions upward from the hem.
- Keep the two front bands separate until fastening.
- Include each band top only once in neck pickups.
- Mark motif origins before stitching either mirrored front.
Before putting the snowflake cardigan knitting pattern away between sessions, record the last completed row and the next action. A simple note makes it easier to resume at the correct point without repeatedly recounting the whole piece.
Troubleshooting
Why does the button band ripple?
Compare the garter gauge with the stated 34-row target and check the three-pickups-per-four-edge-rows distribution. A band with mismatched pickup density or tension can ripple even when the body gauge is correct. Check both bands flat before attaching buttons.
Why do the buttons and holes fail to align?
The hole positions are anchored from the hem. Preserve that orientation when working along the opposite front. Lay both bands together and mark each matching button point before sewing.
Why does a sleeve snowflake drift sideways?
Sleeve increases change needle-column numbers but not the physical location of the marked motif. Follow the PDF mapping through those increases and keep the nine-column crystal on the same fabric Vs.
Care and final inspection
Follow the yarn and button care requirements. Close the buttons while arranging the cardigan for drying, keep the bands flat and avoid stretching the ribbed neckline. Check button attachments and motif ends after finishing.
Check the finished project against the original stitch counts, row counts and placement notes. Inspect the edges and all secured yarn ends before use. Compare the pattern dimensions with the intended wearer and check the finished fit before use.
Download the digital PDF
The document includes a project overview, supplies, abbreviations, construction guidance, counted decoration or color schedule, and finishing advice. Read it alongside the diagrams and keep the gauge information available while working. It is a digital knitting guide for making the project yourself.
Leave a Reply