
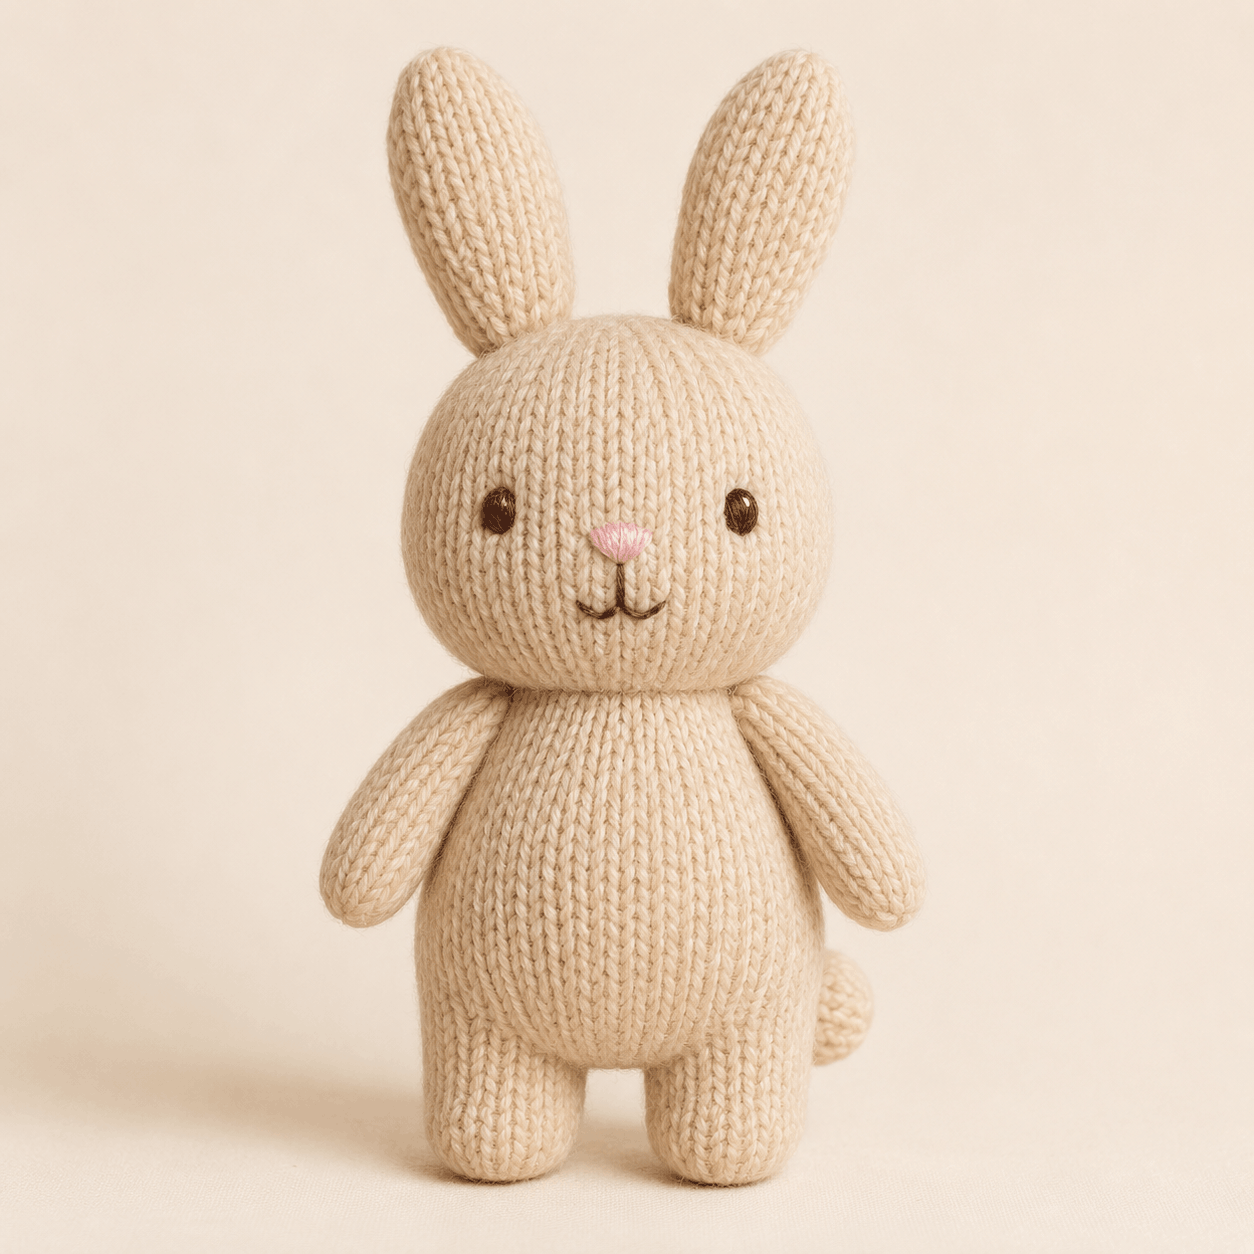
Pip is a softly stuffed knitted bunny with upright ears, a rounded head and body, short limbs, a small round tail, and simple embroidered facial details. This cream bunny knitting pattern is worked in the round in separate pieces, then stuffed and assembled, making it suitable for confident beginners who are comfortable with small circumferences as well as intermediate knitters. Smooth stockinette stitch forms the fabric, with basic increases and decreases creating the shape. This overview covers the materials, techniques, construction, sizing, and project-specific troubleshooting points to know before starting. The complete round-by-round instructions are available in the downloadable PDF near the bottom.
About This Cream Bunny Knitting Pattern
Pip has a classic stuffed-animal shape with a warm cream body, small dark eyes, a pink nose, a brown stitched smile, upright ears, and a rounded tail. The cover shows a rounded head, slightly narrower body, short limbs, and tall ears.
The cream bunny knitting pattern uses seven component types: one head, one body, two ears, two arms, two legs, and one tail. Careful stuffing and symmetrical placement strongly affect the finished look.
Skill Level, Making Time and Finished Size
Craft: Knitting
Project type: Stuffed bunny plushie
Skill level: Confident beginner to intermediate
Construction: Knitted in the round in separate pieces, then stuffed and seamed
Main fabric: Stockinette stitch in the round
Terminology: Standard knitting abbreviations
Finished height: approximately 30–32 cm / 11.75–12.5 in including ears
Head: approximately 10.5–11.5 cm wide and 10–11 cm high
Body: approximately 9–10 cm wide and 10–11 cm high
Estimated making time: not specified in the PDF
Small-circumference rounds, mirrored feature placement, and the final head-to-body join require the most care. The PDF includes placement maps and stitch-column references to help with symmetry.
Materials and Tools You Will Need
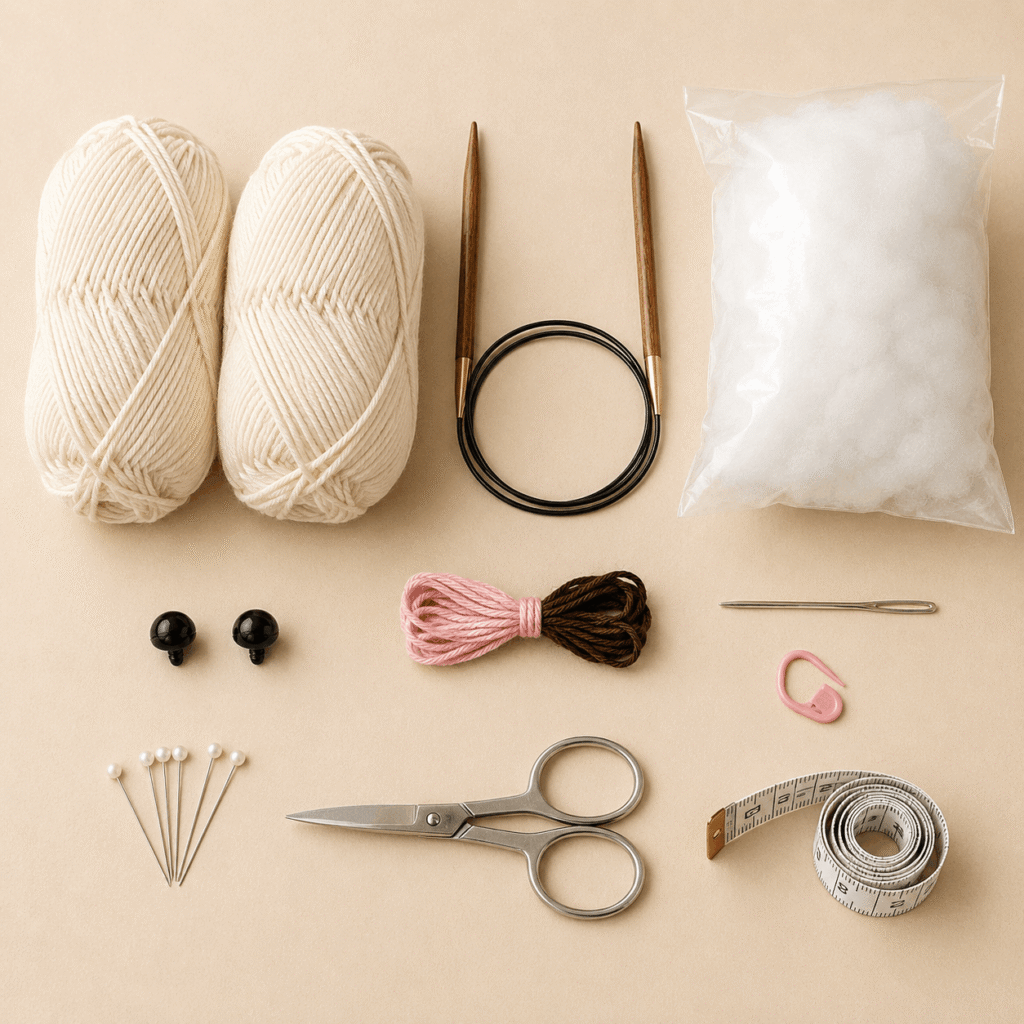
The main yarn is DK / light worsted in warm cream. The PDF recommends a smooth wool, wool blend, or cotton blend with good stitch definition and gives an approximate requirement of 180–220 m / 197–241 yd, or about 85–105 g. You will also need about 70–90 g of washable polyester fibre fill.
Use 4 mm / US 6 circular needles suitable for magic loop or 4 mm double-pointed needles. The face uses two 9 mm dark safety eyes, or embroidered eyes, plus pink embroidery floss or fine yarn for the nose and dark brown thread or yarn for the mouth. Other notions include a tapestry needle, stitch marker, pins, scissors, and measuring tape.
A smooth yarn works especially well for this cream bunny knitting pattern because it keeps the stockinette columns and sewing placement easy to see.
Stitches and Techniques Used
The project uses casting on, knitting in the round, knit-front-and-back increases, knit-two-together decreases, binding off, gathering live stitches, stuffing, embroidery, and sewing separate pieces together.
The stated gauge is 22 stitches by 30 rounds over 10 cm / 4 in in stockinette stitch in the round with 4 mm / US 6 needles. Firm, even fabric matters on a stuffed toy: loose fabric can reveal the filling, while overly tight fabric can become hard to shape.
Sewing uses whip stitch for ears and tail, a flattened two-layer attachment for limbs, and mattress stitch or small whip stitches for the neck.
How Pip the Cream Bunny Is Constructed
The head is worked first from the crown downward, expanding into a rounded shape before narrowing to a 24-stitch neck opening. The eyes are positioned before the lower shaping reduces access, and the nose and smile are embroidered while the neck opening is still usable.
The body begins at a matching 24-stitch neck opening and is worked downward. The ears, arms, legs, and tail are knitted separately. The ears are only lightly filled so they remain slim and upright; the arms and legs are stuffed more carefully so their open attachment edges can still be flattened.
Assembly follows this order: partially stuff the head, attach the ears, finish stuffing the head, stuff the body, attach the legs and arms, sew on the tail, check balance, then join head and body. The sequence leaves access for shaping and adjustment until late in the cream bunny knitting pattern.
Helpful Tips for Making This Project
Keep the beginning-of-round marker at the centre back of the head and body. The pattern uses that fixed reference for face placement, limb positioning, tail placement, and final neck alignment.
Pin both ears before sewing either permanently. Their bases should sit at matching heights, with a small gap between the inner edges. Check the bunny from the front and top before committing to the seam.
Add stuffing in small pieces. Keep the head rounded without stretching the stitches, and leave the upper body slightly softer so the neck sits neatly.
For arms and legs, keep the attachment end softer and flatten the opening before sewing. Each attachment stitch should catch both layers of the flattened edge.
Before joining the head and body, match centre front, centre back, and both side points. Since both openings contain 24 stitches, a one-to-one join helps prevent twisting. These checks make the cream bunny knitting pattern easier to assemble neatly.
Troubleshooting Common Problems
Why Is Stuffing Showing Through the Fabric?
If filling is visible, the fabric is too open or overstuffed. Check that your gauge is close to 22 stitches per 10 cm / 4 in. Removing a little stuffing may help; for later pieces, a slightly smaller needle can produce denser fabric.
Why Does My Cream Bunny Knitting Pattern Project Not Stand Evenly?
If Pip rocks or leans, redistribute stuffing in the lower body and feet, confirm both leg tips finish at the same height, and keep the leg attachment lines horizontal. The PDF specifically recommends checking the body on a flat surface before attaching the head.
Why Are the Ears Uneven?
Repin both bases at the same crown height and compare them from the front and top. Attachment angle can make matching ears appear different even when the pieces are the same size.
Why Does the Neck Seam Gap or the Head Lean?
Use smaller, more frequent mattress or whip stitches if the seam gaps. If the head leans, reopen a short section, rebalance stuffing near the upper body, realign centre front and centre back, and resew the matching openings evenly.
Care Instructions for the Finished Project
Spot-cleaning is the safest first option. Follow the care instructions for the yarn you use, avoid twisting or wringing the stuffed bunny, reshape it gently while damp, and air-dry completely away from direct heat.
Inspect the neck seam, limb joins, embroidery, and ears from time to time. The PDF notes that safety eyes and other small rigid components may not be suitable for children under three years old; embroidered eyes are an alternative.
Leave a Reply