
This santa hat knitting pattern creates a seamless red Christmas hat with an ivory ribbed brim and a softly bent tapered point. It is knitted entirely in the round, using eight marked crown sectors. An optional ivory yarn pompom finishes the tip; the PDF explains how to anchor it securely and when to omit it. The PDF brings together the materials list, gauge guidance, construction instructions and finishing checks, so you can plan the project before casting on. Use the written counts and diagrams together, and keep the selected size or row schedule visible while working. This article explains the design and preparation; the downloadable document supplies the complete instructions. Finished dimensions and yarn requirements vary with gauge and materials.
DIGITAL DOWNLOAD ONLY — NO PHYSICAL ITEM WILL BE SHIPPED.
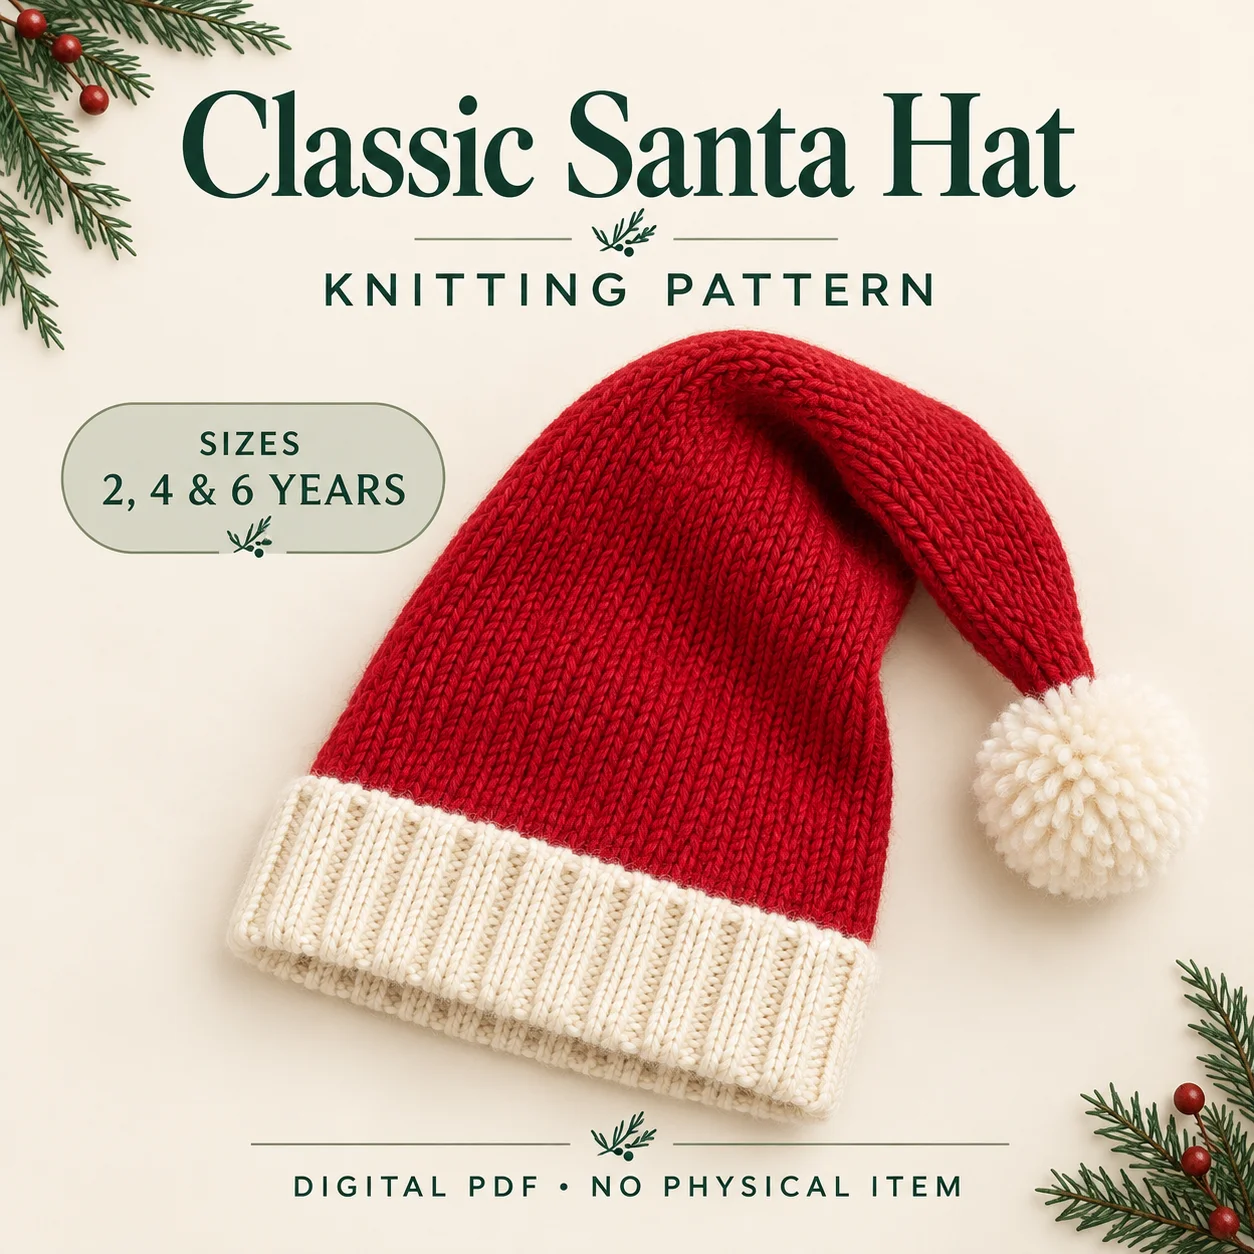
Design features of the santa hat knitting pattern
The brim uses sixteen rounds of knitted two-by-two ribbing rather than faux-fur trim. Red stockinette forms the main body and long taper. Scheduled decreases remove one stitch in each of the eight sectors, with plain rounds between them. Three final tiny rounds over eight stitches create the soft point before gathering. The design has no duplicate-stitch chart or mattress seam.
The preview is an illustrative rendering of the intended project. For exact color locations, stitch counts and relative placement, use the PDF’s counted instructions. A decorative image cannot establish gauge or confirm the behavior of a particular yarn.
Skill level and techniques to prepare
The PDF rates this project Confident beginner. Useful techniques include joining a round without twisting, two-by-two ribbing, circular stockinette, placing eight sector markers, knit-two-together decreases, gathering eight live stitches and making and attaching an optional yarn pompom. Read through the finishing sequence before beginning, especially where a later step depends on held stitches or a marked fabric edge.
Practice an unfamiliar technique on spare yarn first. When preparing the santa hat knitting pattern, separate learning a technique from checking the project counts, so an uncertain method does not obscure which row or stitch group you are working.
Yarn colors and tools
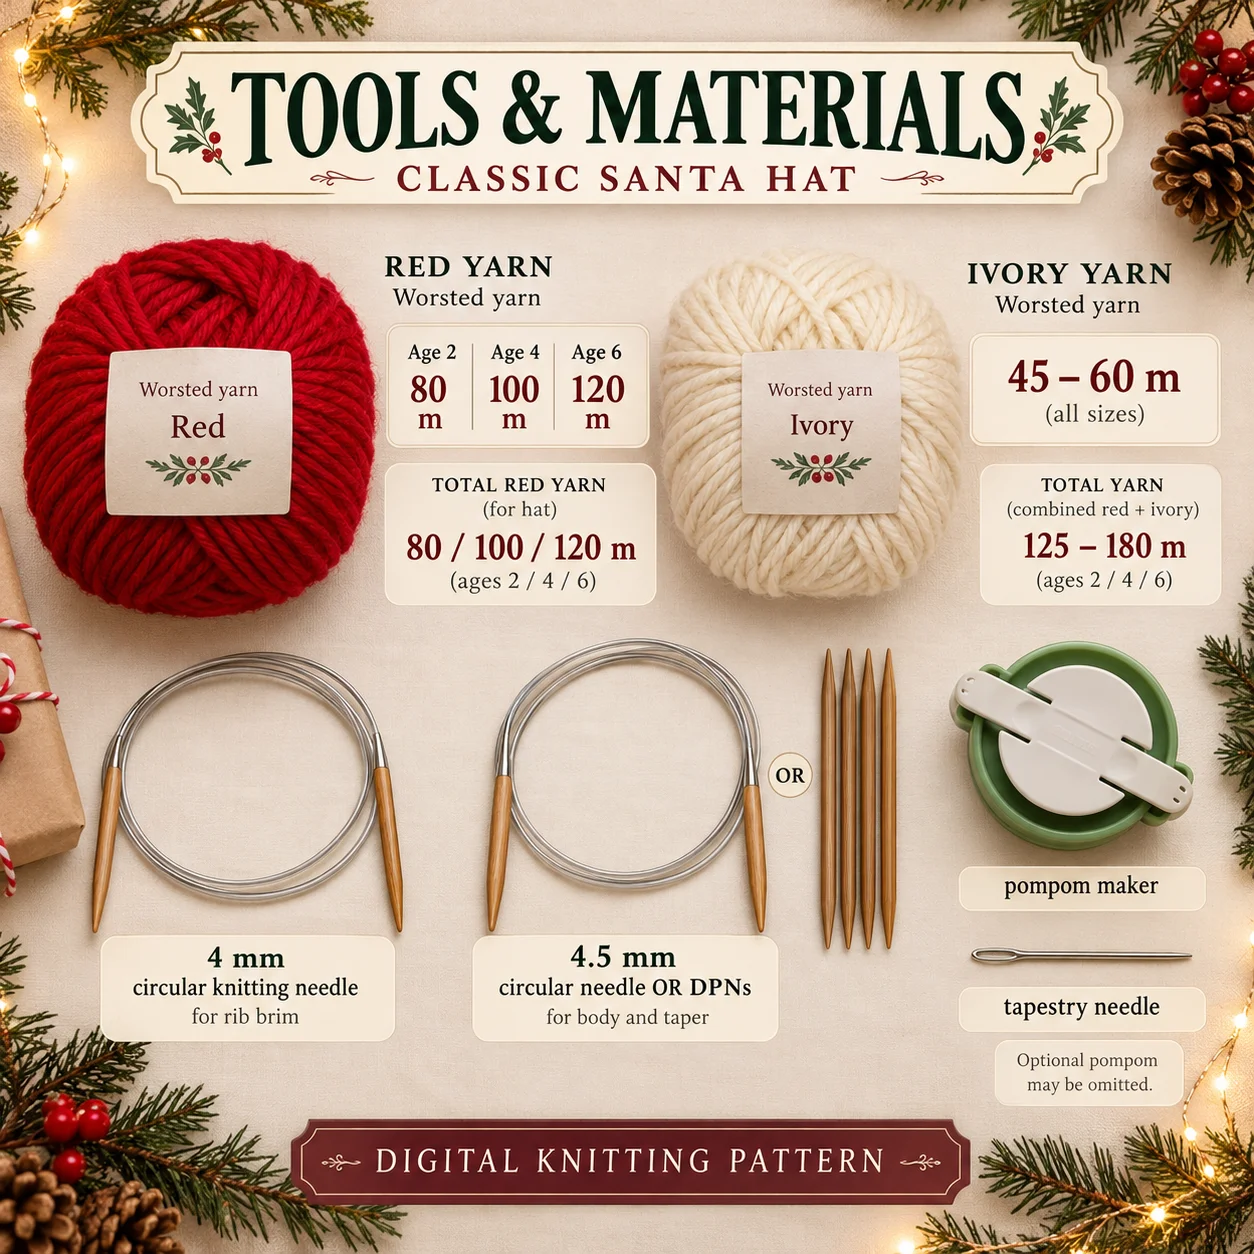
Red: 80 / 100 / 120 m for ages 2 / 4 / 6. Ivory: 45–60 m. Estimated allowances.
Equipment: 4 mm circular knitting needle for rib brim; 4.5 mm circular needle OR DPNs for body and taper; pompom maker and tapestry needle. Optional pompom may be omitted.
These allowances should guide preparation, not be presented as measured consumption. Keep each accent color labelled and compare the fiber-care requirements before combining yarns. The tools and materials image accompanies the santa hat knitting pattern as a quick reference, while the PDF remains the detailed supply source.
Gauge and finished measurements
The target is 20 stitches and 28 rounds per 10 cm in blocked stockinette on 4.5 mm needles. Sample the two-by-two rib separately on the smaller 4 mm circular needle to assess its recovery and cast-on elasticity.
Sizes are labelled 2, 4 and 6 years. Reference head circumferences are 48, 52 and 56 cm. approximate hat circumferences at stockinette gauge are 44, 48 and 52 cm; heights before soft drape are 29.3, 32.1 and 35 cm. Actual rib recovery must be checked before relying on the intended negative ease.
Wash or block a swatch as permitted by the yarn label, dry it flat and measure a central ten-centimeter area. Use the actual blocked gauge when assessing dimensions. Too many stitches per ten centimeters generally requires larger needles; too few requires smaller needles. Re-swatch after changing needles. The santa hat knitting pattern measurements are approximate measurements, so blocking should not be used to disguise a significant gauge mismatch.
Construction and finishing sequence
Cast on 88, 96 or 104 stitches loosely in ivory, join without twisting and work sixteen rib rounds. Change to red and knit plain through total round 42, 46 or 50. Divide the round into eight sectors of eleven, twelve or thirteen stitches. The first decrease falls on round 43, 47 or 51; subsequent decreases occur every fourth round. Ten, eleven or twelve decrease rounds reduce every size to eight stitches. Work three further plain rounds, pass the yarn through the eight loops twice and secure it inside.
Keep a row record as you work and pause at the stitch-count checkpoints. Read the selected instruction line independently instead of mixing values from different sizes. For the santa hat knitting pattern, the written construction sequence provides the reliable order of operations; use its counts rather than reconstructing the garment from the promotional image.
Counted decoration and practical tips
Keep the round count running from the cast-on throughout the hat. The smaller size finishes at round 82, the middle at round 90 and the larger at round 98. Allow the red point to bend naturally. For the optional pompom, the document describes an approximately five-centimeter template and a trimmed 4.5-to-5-centimeter ball. Its doubled tie ends are sewn repeatedly through six to eight top stitches, with additional anchoring inside. Omit the pompom for infants or where snagging or detachment is a concern, as the source directs.
Useful checks while working:
- Check the entire cast-on edge before joining.
- Count the plain red rounds from the original cast-on.
- Mark all eight equal crown sectors.
- Decrease once per sector on each listed shaping round.
- Inspect pompom anchoring or choose the version without it.
Before putting the santa hat knitting pattern away between sessions, record the last completed row and the next action. A simple note makes it easier to resume at the correct point without repeatedly recounting the whole piece.
Troubleshooting
Why does this project have an uneven crown?
Count the eight sectors before shaping and check that each decrease round removes exactly eight stitches. Missing a sector decrease produces a different count and taper. Recount at the checkpoint rather than adding an unscheduled decrease later.
Why is the brim too snug?
Check the actual two-by-two rib recovery and the cast-on elasticity. The PDF recommends a stretchier cast-on if needed. Stockinette circumference alone does not establish how the brim will stretch over the head.
Why does the pompom pull the point?
Anchor the pompom center through several top stitches rather than one loop. The source suggests a softer smaller pompom if it is heavy, and also allows the decoration to be omitted.
Care and final inspection
Hand wash when a pompom is attached and dry on a towel, reshaping the point while damp. Do not press the fluffy pompom with an iron. Secure all color-change ends inside and inspect the brim and optional tip decoration before wearing.
Check the finished project against the original stitch counts, row counts and placement notes. Inspect the edges and all secured yarn ends before use. The santa hat knitting pattern should be assessed using your actual fabric and wearer needs, with the source’s size guidance kept in mind.
Download the digital PDF
The document includes a project overview, supplies, abbreviations, construction guidance, counted decoration or color schedule, and finishing advice. Read it alongside the diagrams and keep the gauge information available while working. It is a digital knitting guide for making the project yourself.
Before choosing a hat size, consult the Craft Yarn Council head circumference reference and measure the wearer. These published ranges are general standards, not verified sizing for this particular Santa hat; compare the knitted fabric with the PDF’s gauge.
Leave a Reply