
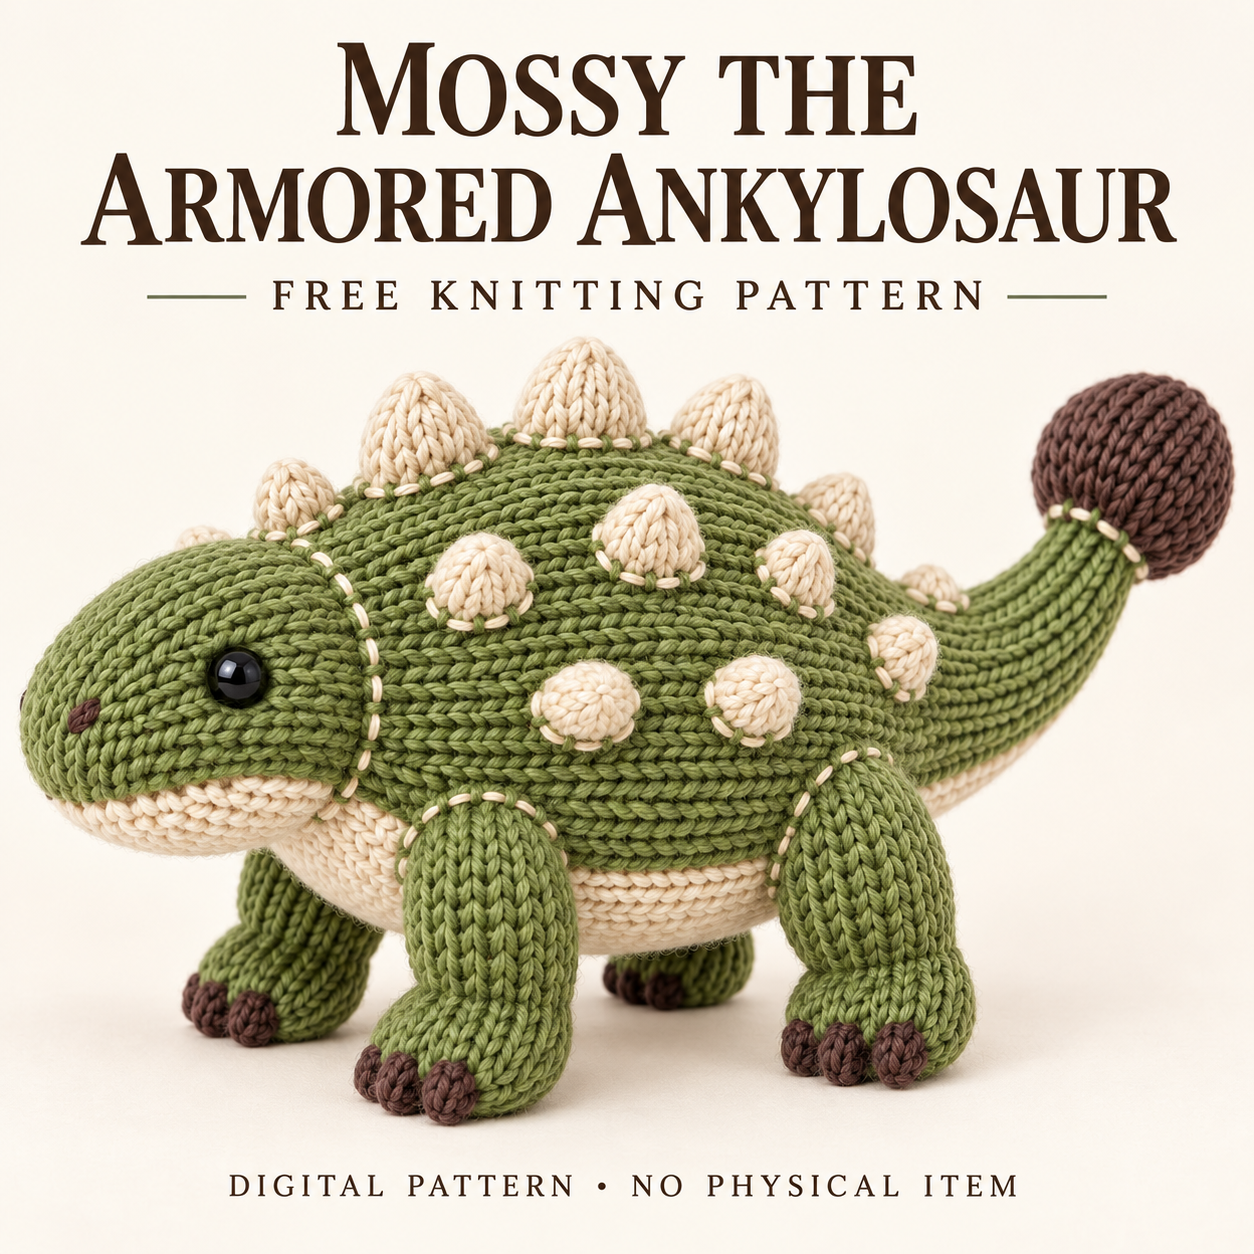
This ankylosaur knitting pattern makes Mossy, a low, broad dinosaur plushie with olive-green fabric, cream armor, and a rounded brown tail club. Its four sturdy legs and pale underside give the design a grounded shape, while visible cream running stitches outline the joins. The main sections use circular knitting, with flat panels and separate armor added during assembly. The PDF rates the project intermediate, reflecting the small circumferences and detailed finishing rather than complicated stitch textures. Below, you can review the supplies, shaping methods, and placement details that deserve attention before starting. The complete free pattern PDF, including its round tables and assembly guidance, is introduced near the bottom.
What distinguishes this ankylosaur knitting pattern
Mossy’s body, tail, and club form one continuous knitted piece. This creates a connected silhouette, although the tail’s upward curve still needs a concealed shaping thread. The head is separate, and cream panels cover the jaw, belly, and tail underside.
The armor has several shapes: a central ridge of seven plates, eight pointed side cones, and four lower rounded knobs. These pieces are lightly stuffed and sewn individually. Three brown toe bobbles finish each foot. The ankylosaur knitting pattern therefore rewards careful preparation of small components as much as neat knitting of the larger shell.
Skill level, gauge, and finished size
- Craft and type: knitted stuffed dinosaur.
- Skill level: intermediate.
- Construction: primarily in the round, with flat stockinette panels.
- Overall length: approximately 37–40 cm from nose to club.
- Height: approximately 17–19 cm to the tallest back plate.
- Gauge: 24 stitches and 34 rounds or rows per 10 cm in stockinette.
The PDF gives approximate sizes that vary with yarn, tension, and stuffing; they are not a guarantee of physically measured results. It supplies no completion-time estimate. Matching both flat and circular gauge matters because the cream panels must fit the stuffed green sections without stretching. For this ankylosaur knitting pattern, assembly alignment is likely to need more concentration than the repeated stockinette sections.
Materials and tools to gather
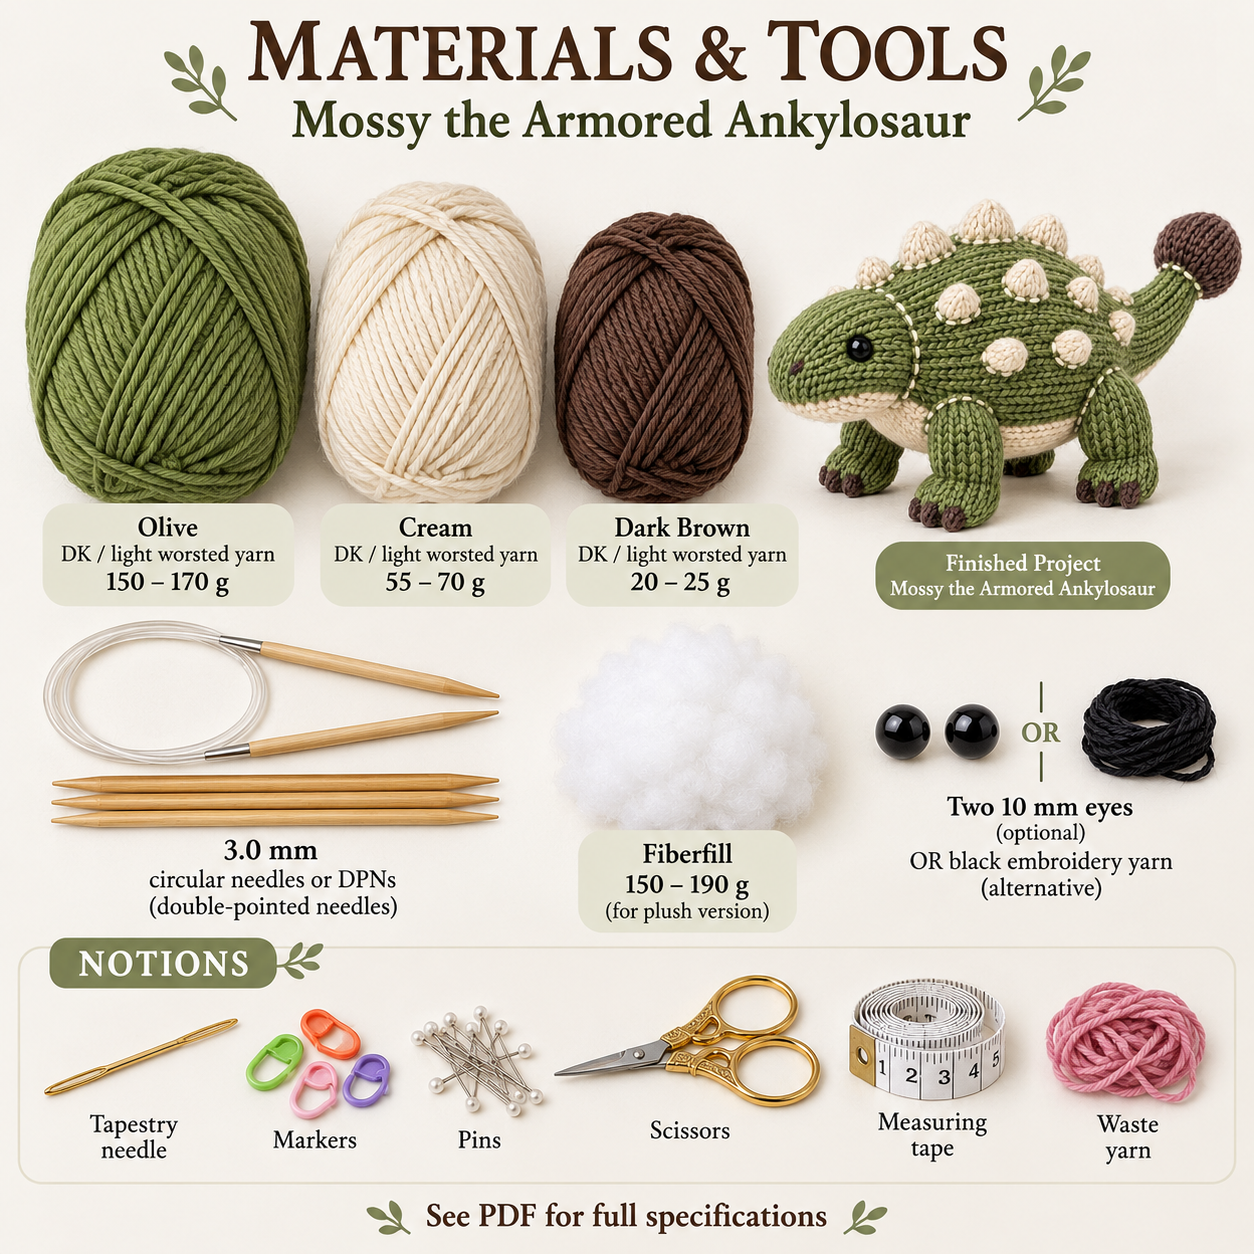
Use smooth DK/light worsted yarn with good stitch definition. The listed allowances are approximately 150–170 g olive green, 55–70 g cream, and 20–25 g dark brown. Cotton, cotton-acrylic, or a similar smooth yarn is suggested in the PDF.
The main tools are 3.0 mm circular needles for magic loop or matching double-pointed needles. You also need approximately 150–190 g polyester fiberfill, a tapestry needle, locking and removable markers, pins, scissors, measuring tape, and waste yarn. The eye options are two 10 mm black safety eyes or black embroidery yarn.
The ankylosaur knitting pattern calls for dense fabric. Swatch before committing to the full body, and check that the filling does not show through when the sample is gently expanded.
Knitting and sewing techniques used
The knitted shaping uses knit-front-and-back increases and decreases, including knit-two-together and slip-slip-knit where specified. You will also cast on, bind off, gather small openings, and work stockinette both circularly and back and forth.
The toe bobbles use short I-cord sections. Finishing combines mattress stitch or small backstitches, whipstitch for surface panels and armor bases, and decorative running stitch. The cream outline is a finishing detail; keep its tension light so it does not cinch the fabric. Familiarity with sewing onto a stuffed surface is useful before beginning the ankylosaur knitting pattern.
How Mossy’s components come together
The written knitting sequence begins with the body and continues into the tail and brown club. The club is filled and closed, and the torso is stuffed through its open neck. A hidden line along the tail’s top establishes a smooth upward curve before the armor is attached.
The belly panel and tail strip follow the underside. The head is prepared separately, with eye access retained before closure and the cream jaw panel attached before the final neck join. Its cream edge should meet the belly panel continuously.
After preparing the legs and toes, pin all four limbs to check the stance. The dorsal plates, side cones, and lower knobs are then positioned in mirrored groups. The ankylosaur knitting pattern finishes with the cream outlines and a check of every attachment.
Practical tips for the armor and stance
- Keep the beginning-of-round marker on the underside where instructed. The dorsal ridge sits opposite that line.
- Sort the plates by size before pinning: the largest belong over the broad torso.
- Shape the tail gradually along its hidden anchors. A single tight pull can make a kink.
- Keep the upper leg openings soft enough to flatten in the specified direction.
- Check all four feet on a level surface before committing the attachment seams.
- Pin the cream underside pieces together at their junctions so gaps become visible before sewing.
These checks help the ankylosaur knitting pattern retain its low posture and continuous pale underside without relying on extra filling to correct placement.
Troubleshooting shape and placement
Why do the legs on my ankylosaur knitting pattern project splay?
Check the orientation of each flattened upper opening and compare its attachment with the matching leg. The seam must follow the direction specified in the PDF, with the foot facing forward. Repin the affected leg using the placement table rather than twisting a completed limb into position.
Why does the club sit too low?
Confirm that the shaping thread lies along the top-center line and the round marker stays underneath. Loosen and retension the anchors gradually. Check that the cream underside strip is following the curve rather than pulling it downward.
Why does the armor lean sideways?
Recenter the open base on its marked line and resew with even tension around the base. A lightly filled plate needs a balanced attachment; excessive stuffing will not correct a tilted seam.
Caring for the finished dinosaur
Follow the care labels for the chosen yarn and filling. For a small mark, gentle spot-cleaning is a cautious first approach; avoid harsh rubbing over the raised armor. If washing is permitted, reshape carefully and allow the filling to dry completely away from direct heat.
Inspect the eyes, toe bobbles, armor bases, and seams regularly. The PDF notes that safety eyes and small rigid components may be unsuitable for children under three. Embroidered eyes provide an alternative without detachable eye hardware; secure all attachments and follow applicable local requirements.
Download Mossy’s complete PDF
The free PDF contains the full round and row instructions, materials, gauge, component counts, placement maps, sewing methods, and troubleshooting table. Use those details for the actual knitting and assembly; this overview does not replace them.
DIGITAL DOWNLOAD ONLY — NO PHYSICAL ITEM WILL BE SHIPPED.
Leave a Reply